PLANS: Creating Triple-Stacked Cage Frames for the Rabbitry
After moving to the new farm in August 2022, we only had a dirt floor in our barn, which has been nice in some regard (for instance, not requiring bottom row cage trays for the rabbits), but it has not come without its fair share of caveats. Our barn would flood during winter and spring, becoming a muddy mess and impossible to rake out. When the mess began to accumulate, so did the mice in the barn. It started becoming apparent that this problem needed fixed permanently. In September 2023 we finally concreted the rabbitry half of the barn and adopted two cats to remedy our mouse problem. Concrete in the rabbitry gave me a fresh start on how I wanted to house my rabbits.
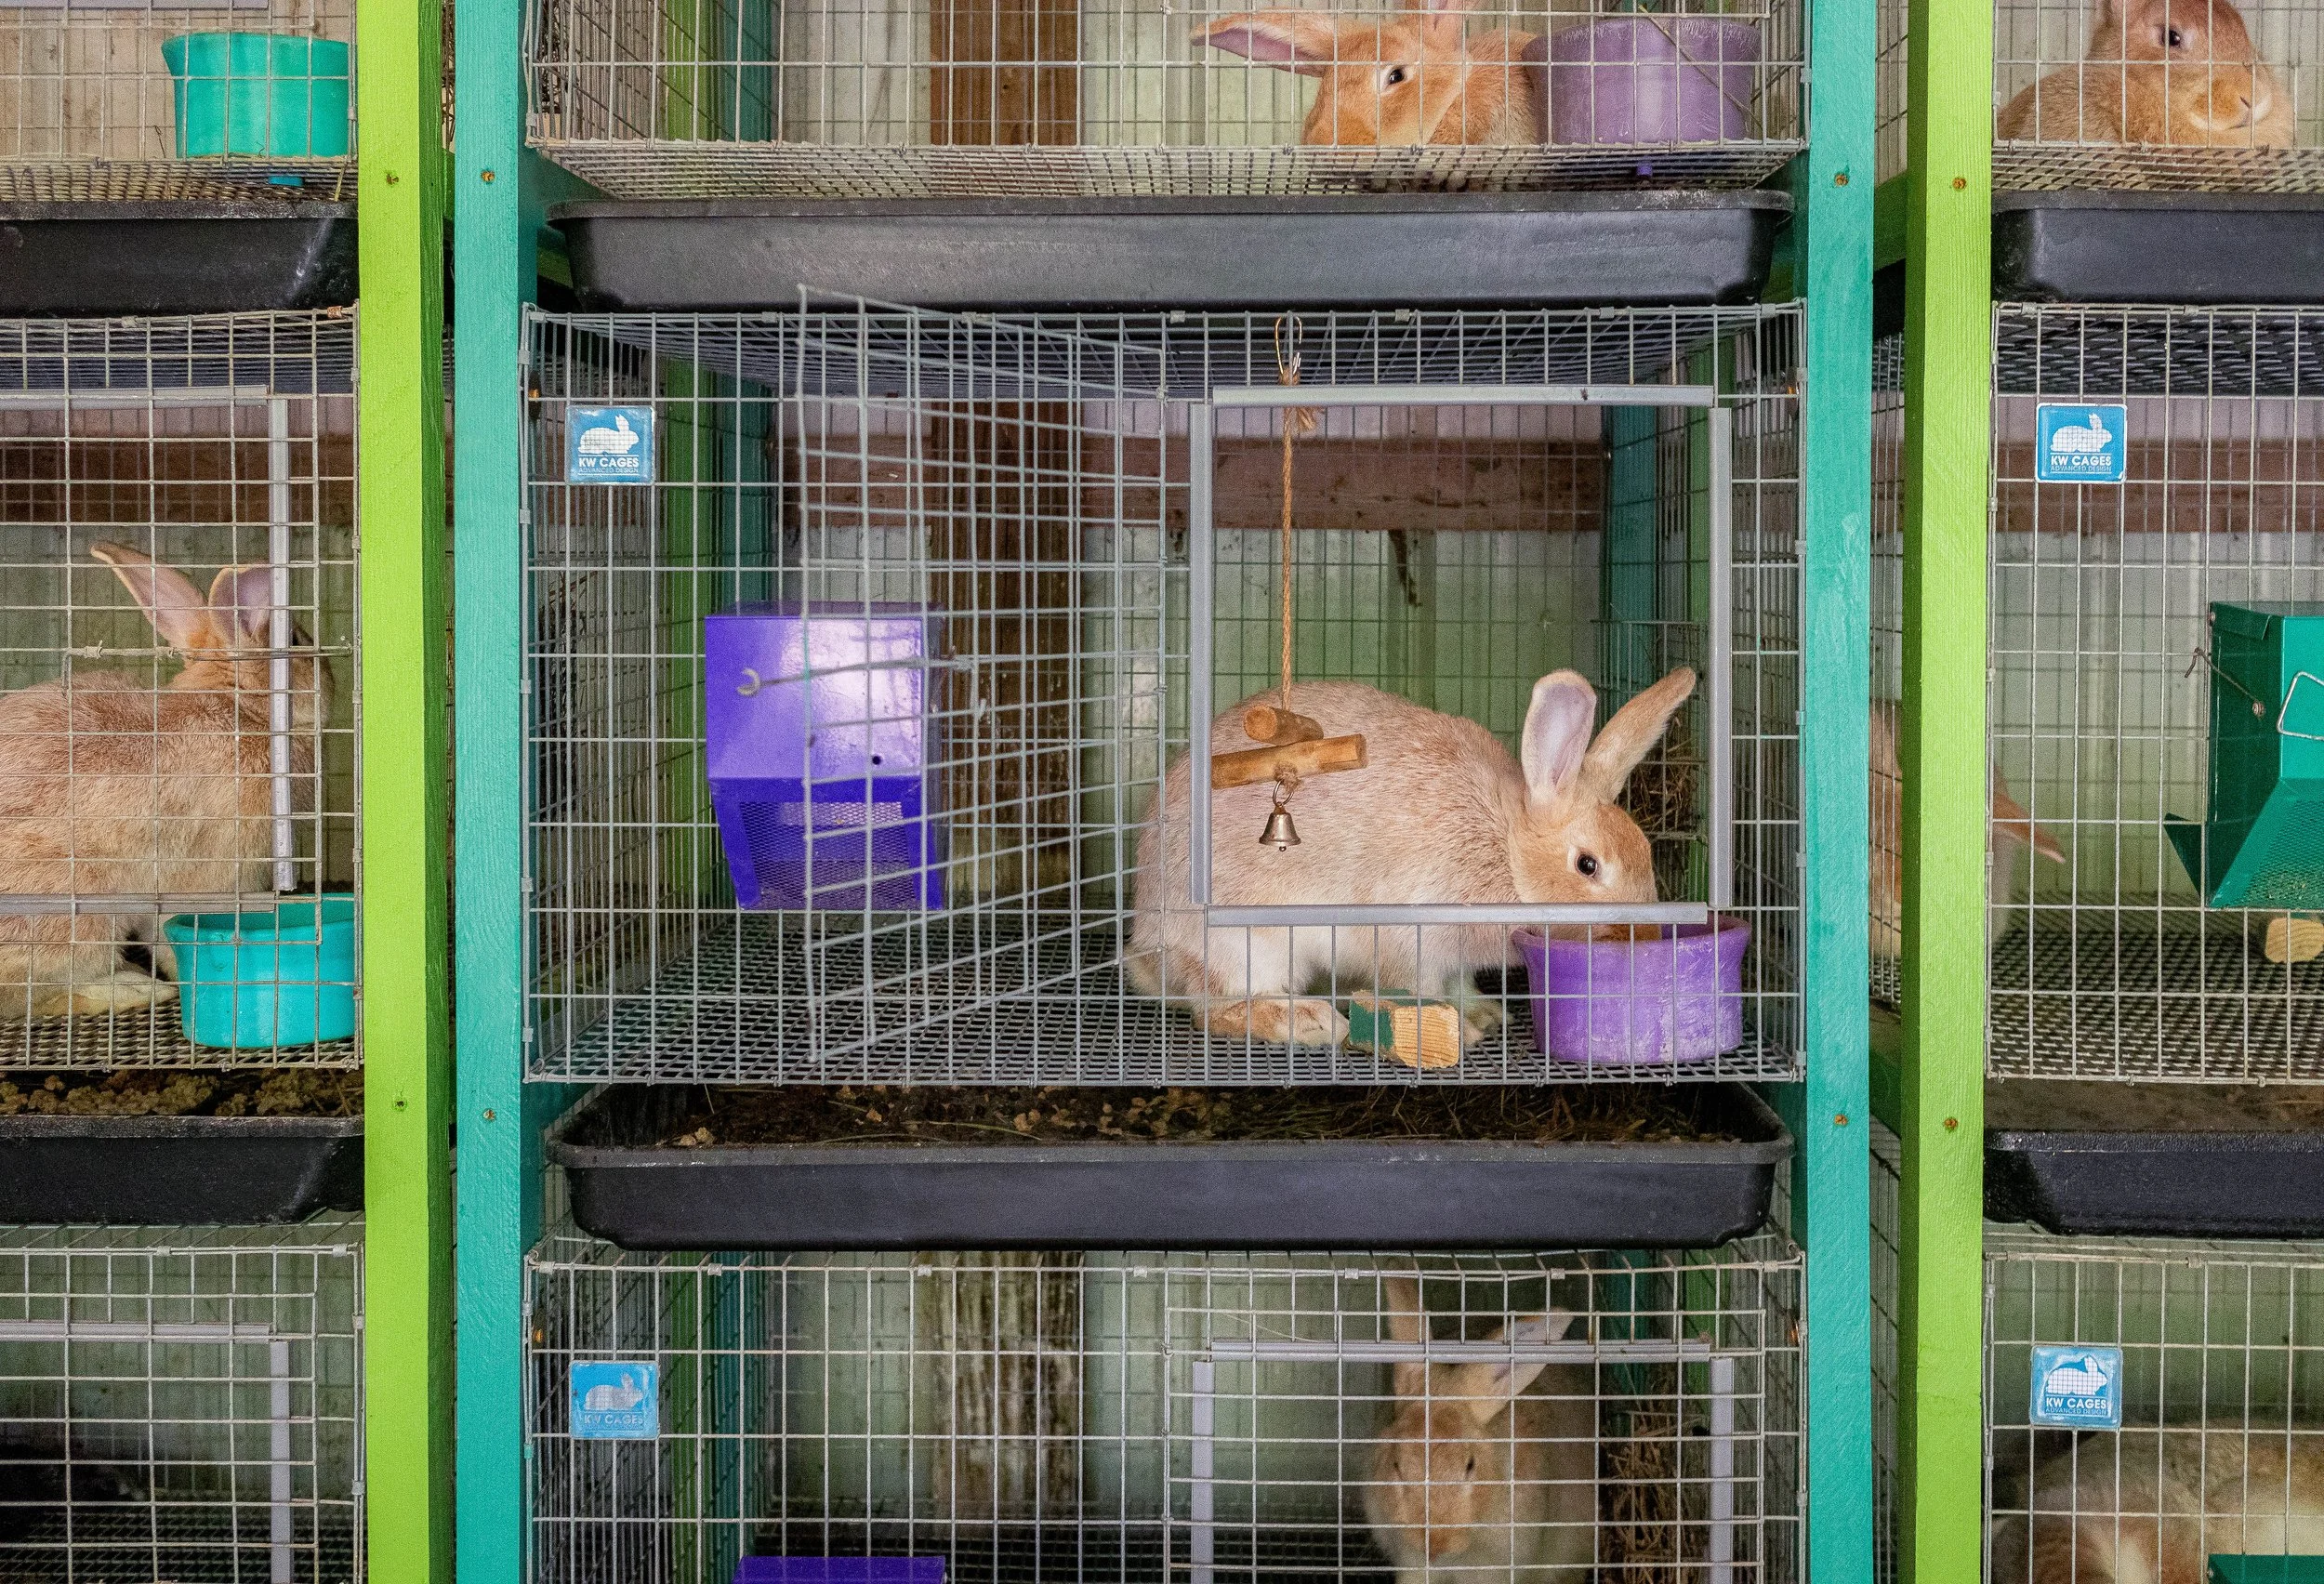
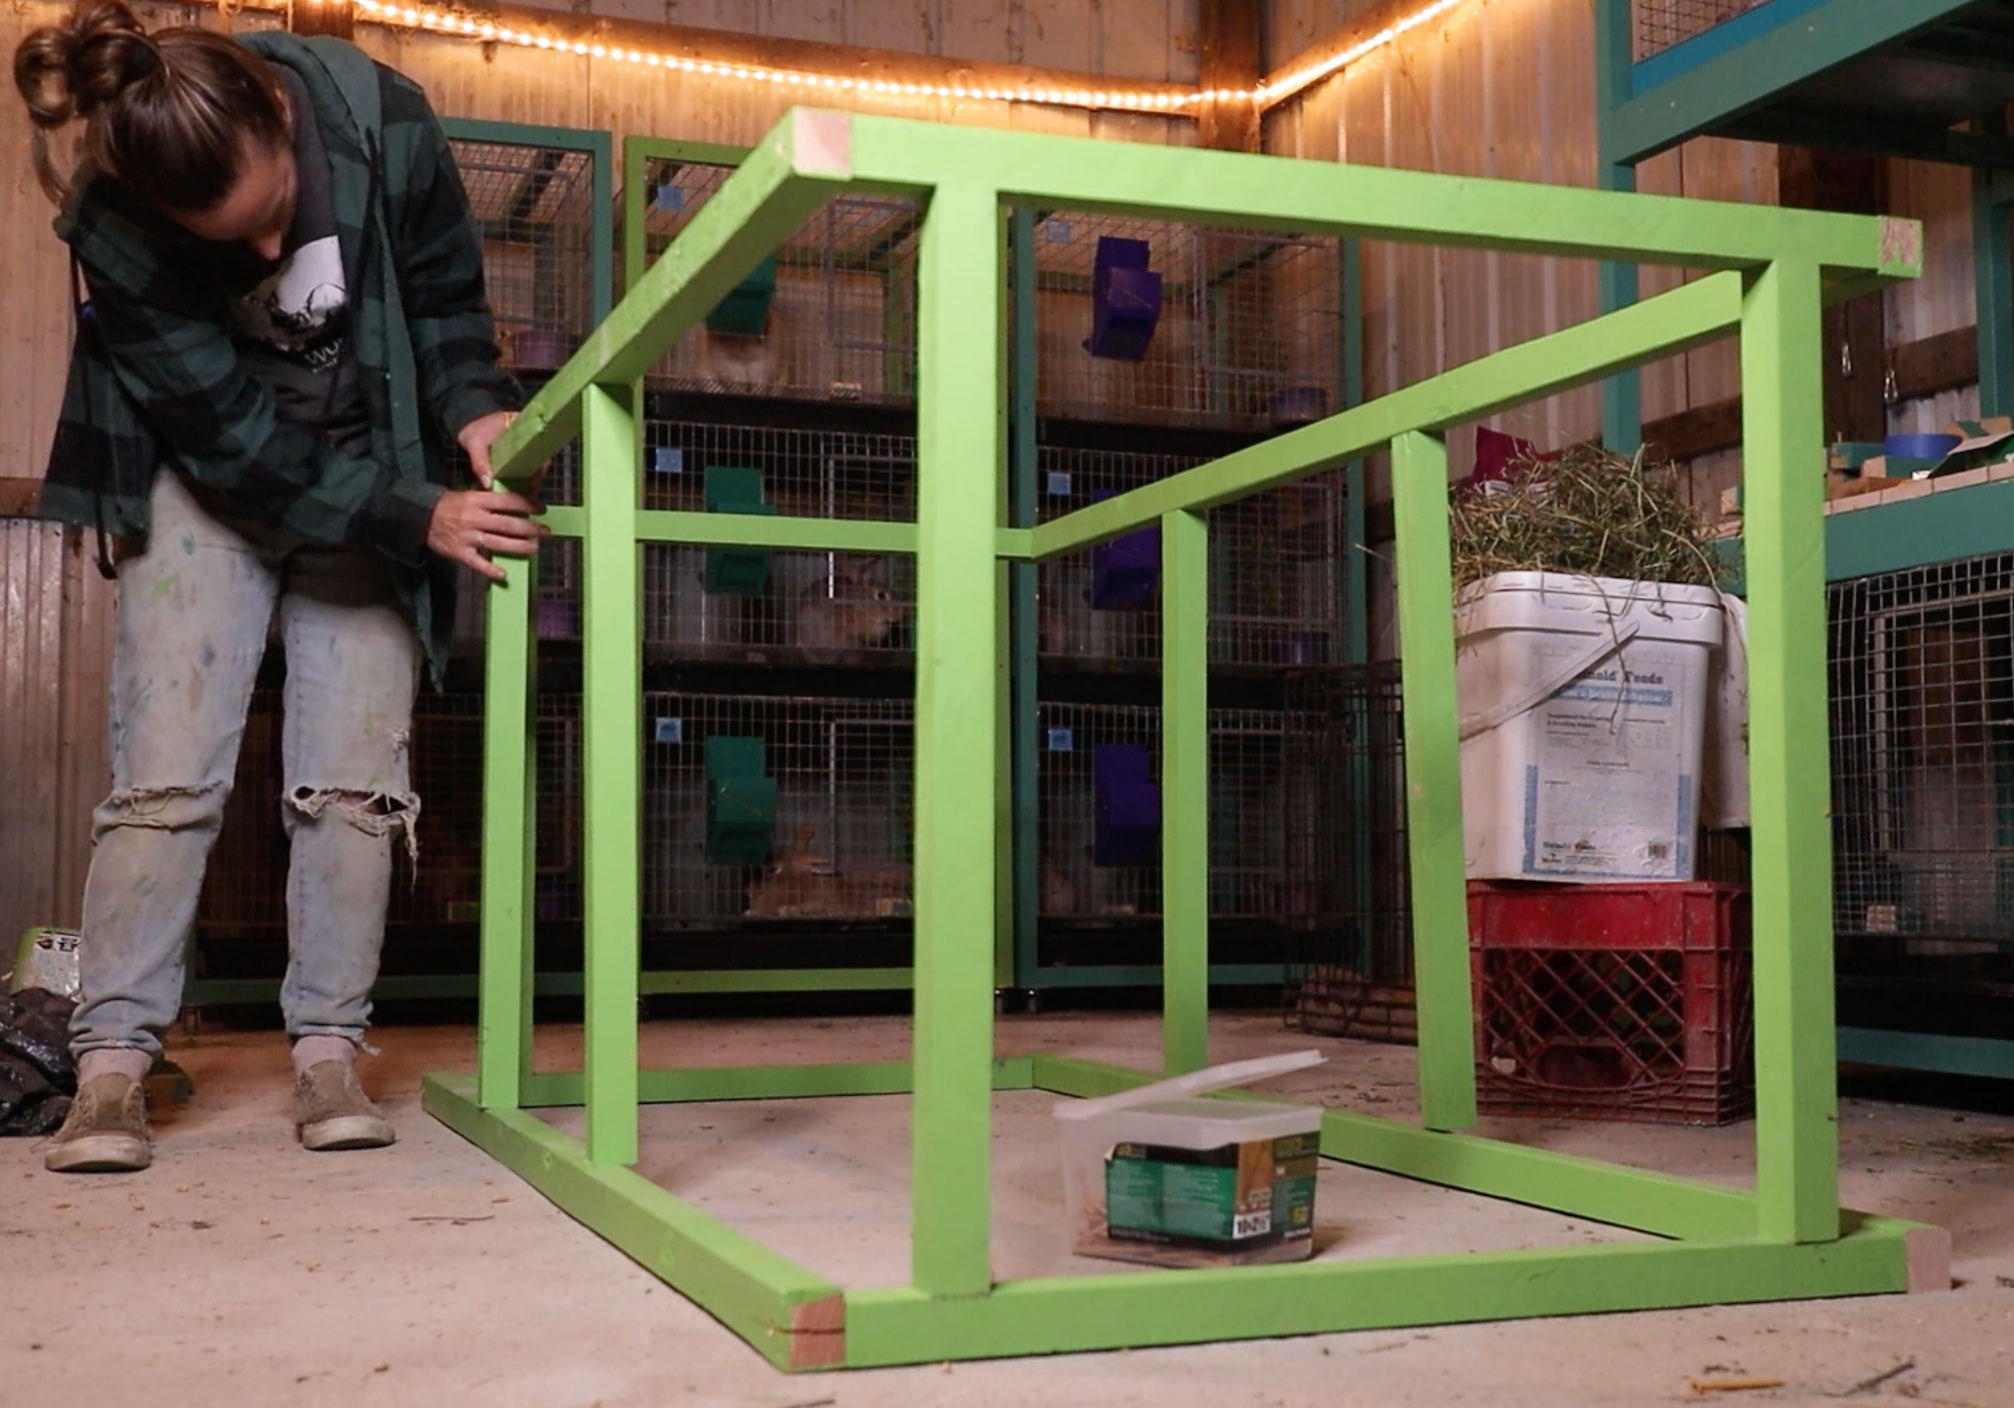
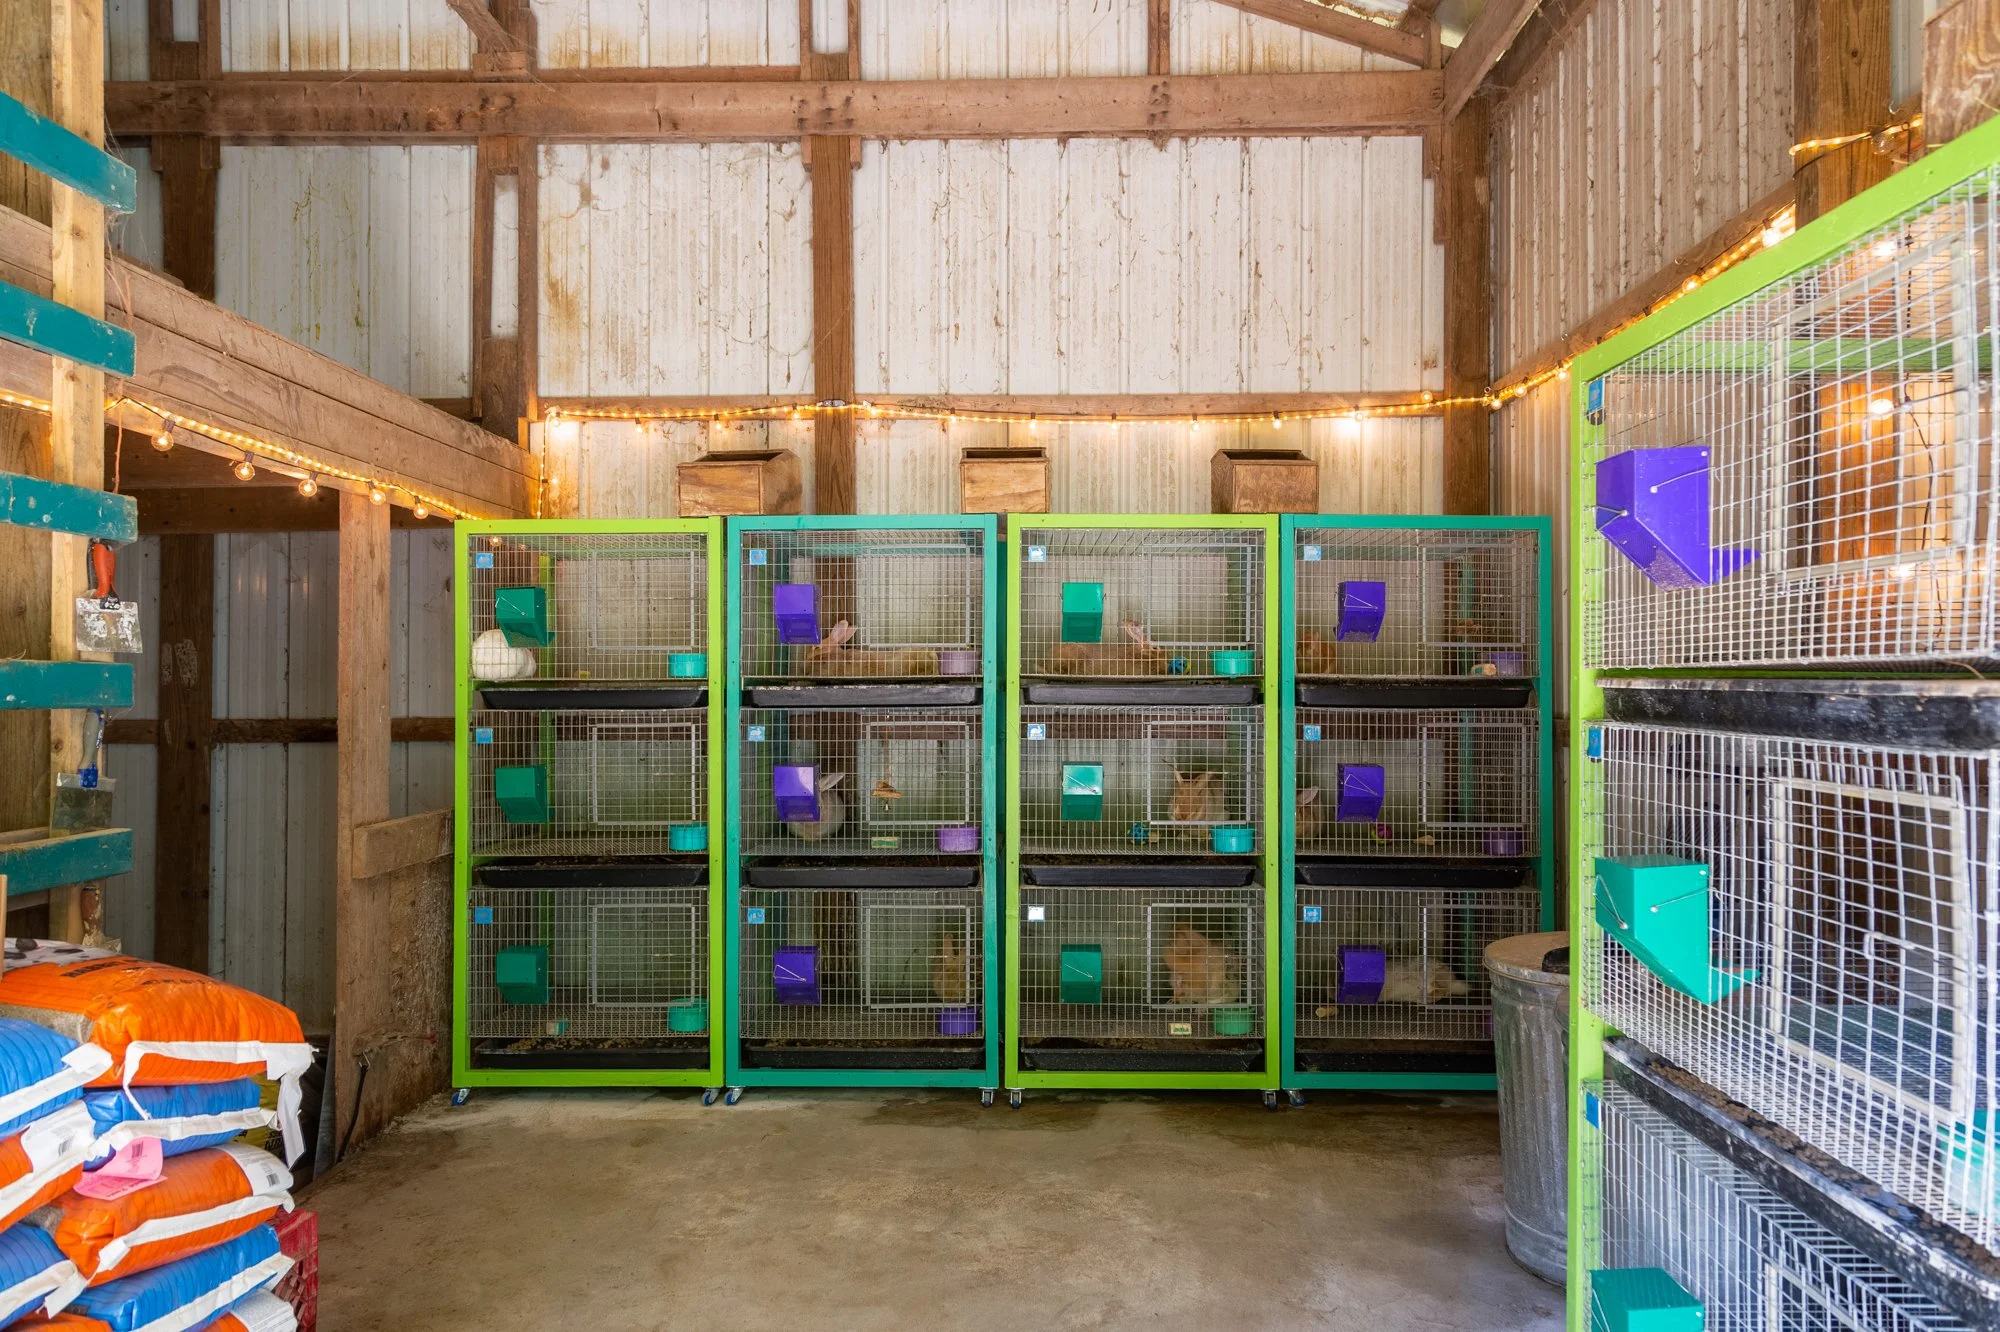
These DIY wood stacker frames hang three 30”x30”x18” modular cages and trays within. They are painted to last longer and feature casters for easy moving and cleaning in the barn. They are simple to make, only requiring 16 cuts of wood each, and can easily be built by one person.

What you’ll Need
Materials:
3 - 2x4’s (8ft) OR 6 - 2x2’s (8ft)
24 - 2 3/4” screws
12 - 1 1/2” screws
12 - Washers 2” diameter
4 - Swivel Casters
3 - 30”x30'“ modular cages (KW cages is my favorite brand - CLICK HERE for the cages I have)
3 - 30”x30” cage trays, plastic or metal (I bought mine at tractor supply - CLICK HERE for the trays I have)
Zipties
Tools:
Drill with twist drill bit to create pilot holes
Impact Driver
Circular Saw
Measuring Tape
Carpenter’s Square
Optional (but encouraged!):
Paint color(s) of choice + paint brushes and/or rollers
Teal Stone stacker colors: Valspar Chopped Chive (lime green) and Valspar Beach Grass (teal)
Check out some of my favorite rabbit items on Amazon!
The Build
Step 1: Cut the Lumber
In my video that accompanies this blog post, I mention that for my project, I opted to buy 2x4’s and split them in half rather than buying 2x2’s in order to save money. All lengths posted below are assuming you’ve already split your 2x4 in half if you opt to go that route.
A 2x4 split in half equally is around 1.5” x 1.75”.
A 2x2 is 1.5” x 1.5”.
Whatever you choose, I will be addressing both methods in this blog post. I had a LOT of stackers to make, and cutting 2x4’s in half ended up saving me about $100.
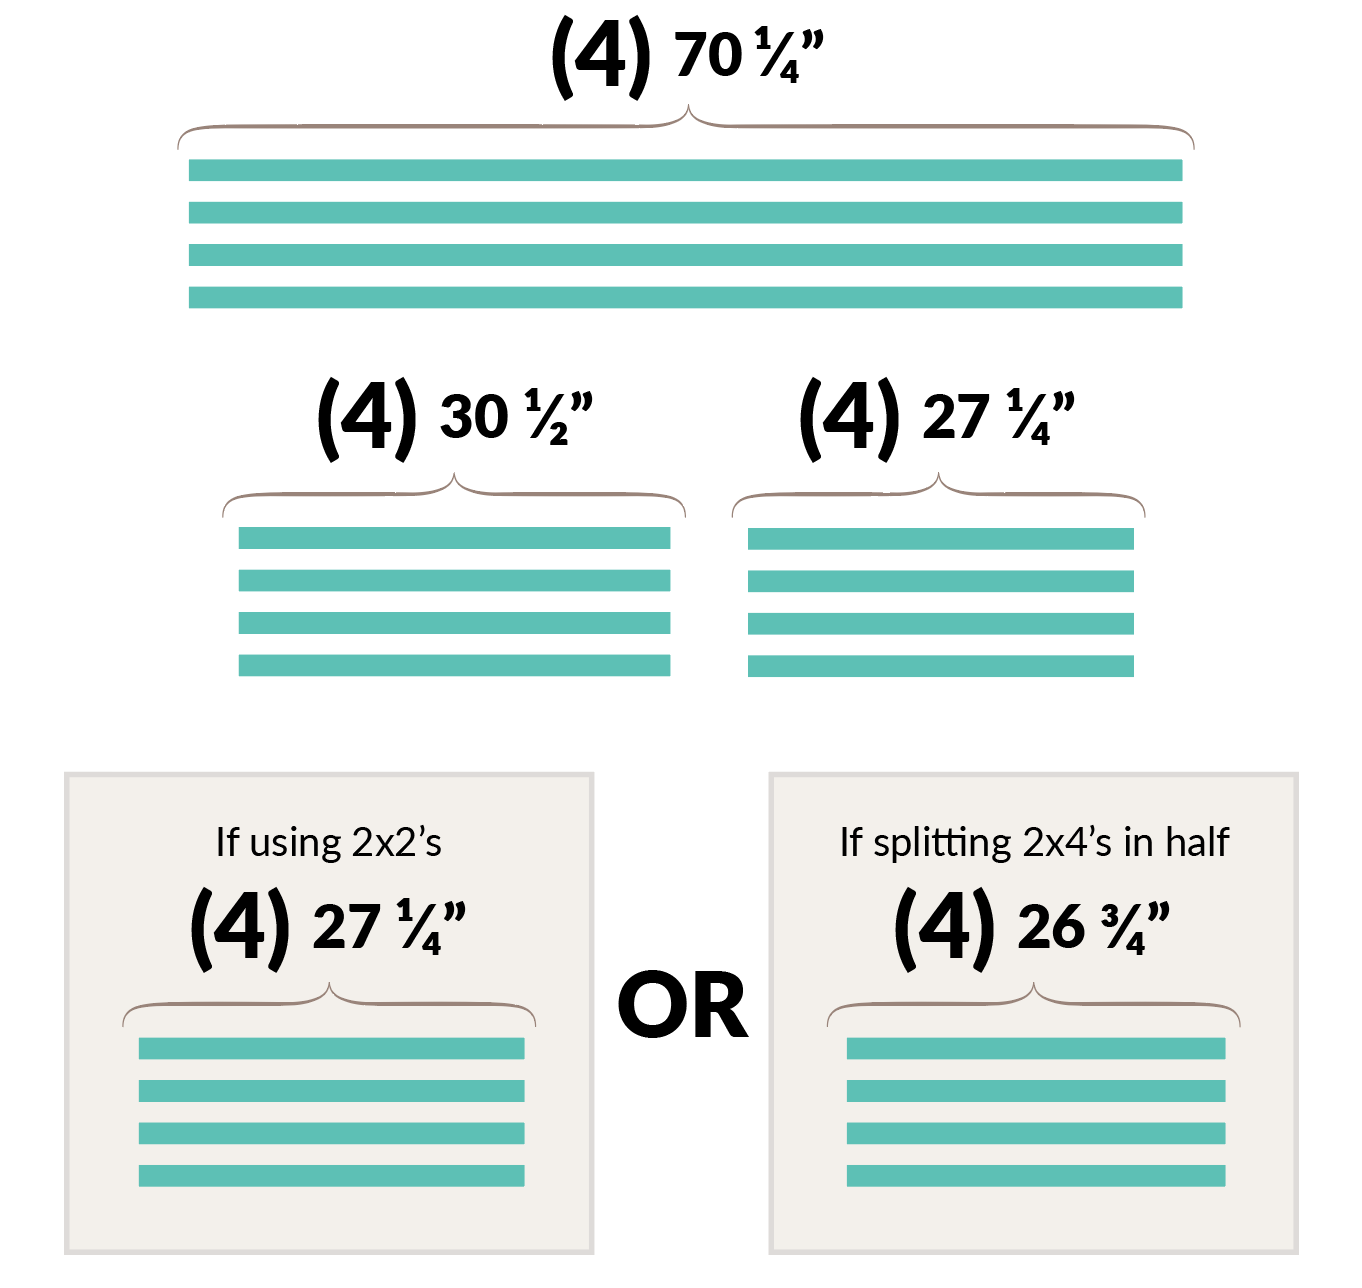
Sides: FOUR pieces cut at 70.25” length
Bottom/Top: FOUR pieces cut at 30.5” length
Bottom/Top: FOUR pieces cut at 27.25” length
Side Braces: FOUR pieces cut at 27.25” if you are using 2x2’s, OR cut at 26.75” if you are using ripped 2x4’s
Step 2: Assemble the Top & Bottom
I found it to be easier to assemble my top and bottom pieces laying across saw horses (like in the screen shot below). The bottom and top pieces are made using two 30.5” pieces and two 27.25” pieces each. If using ripped 2x4’s, make sure the the short side of your boards are facing UP during assembly.
Measure from each side of your 30.5” pieces and make a mark at the 3” points. This is where we are going to drill pilot holes using your twist drill bit. Pilot holes help to prevent the wood from cracking.
Note: On ripped 2x4’s, pilot holes are drilled on the wider (1.75”) side

Arrange your top and bottom pieces and screw them together. I found it to be helpful to make marks at 2.25” points on each end of the 30.5” pieces as well, so that I can line up my boards as accurately as possible. See the image below.
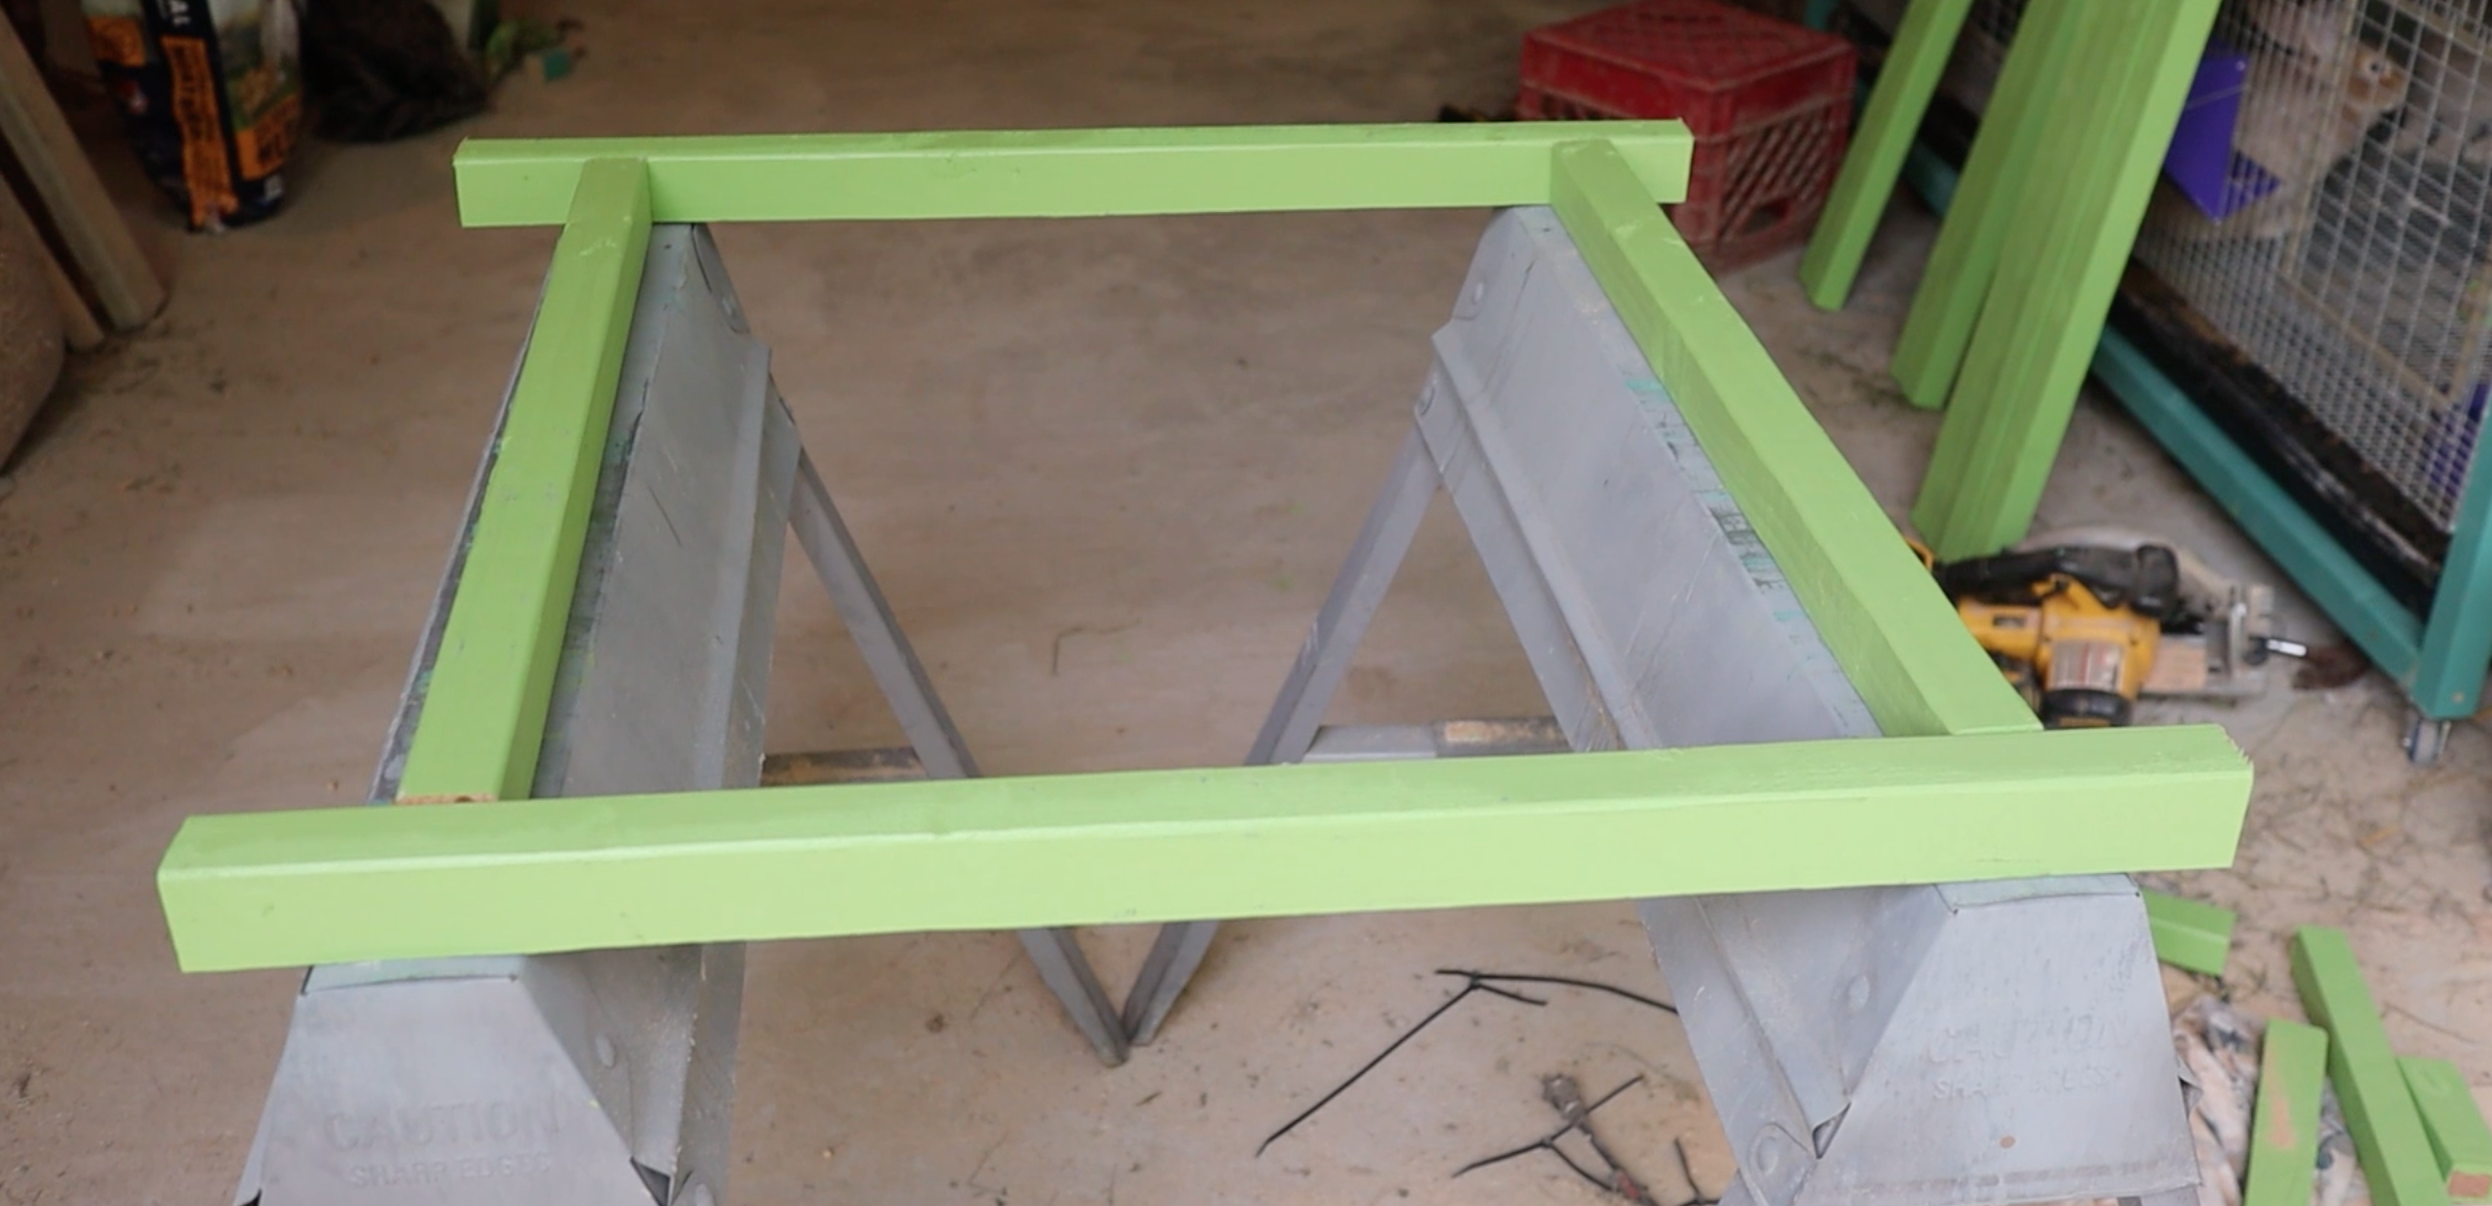
Boards arranged on a sawhorse ready for assembly

Step 3: Attach the sides
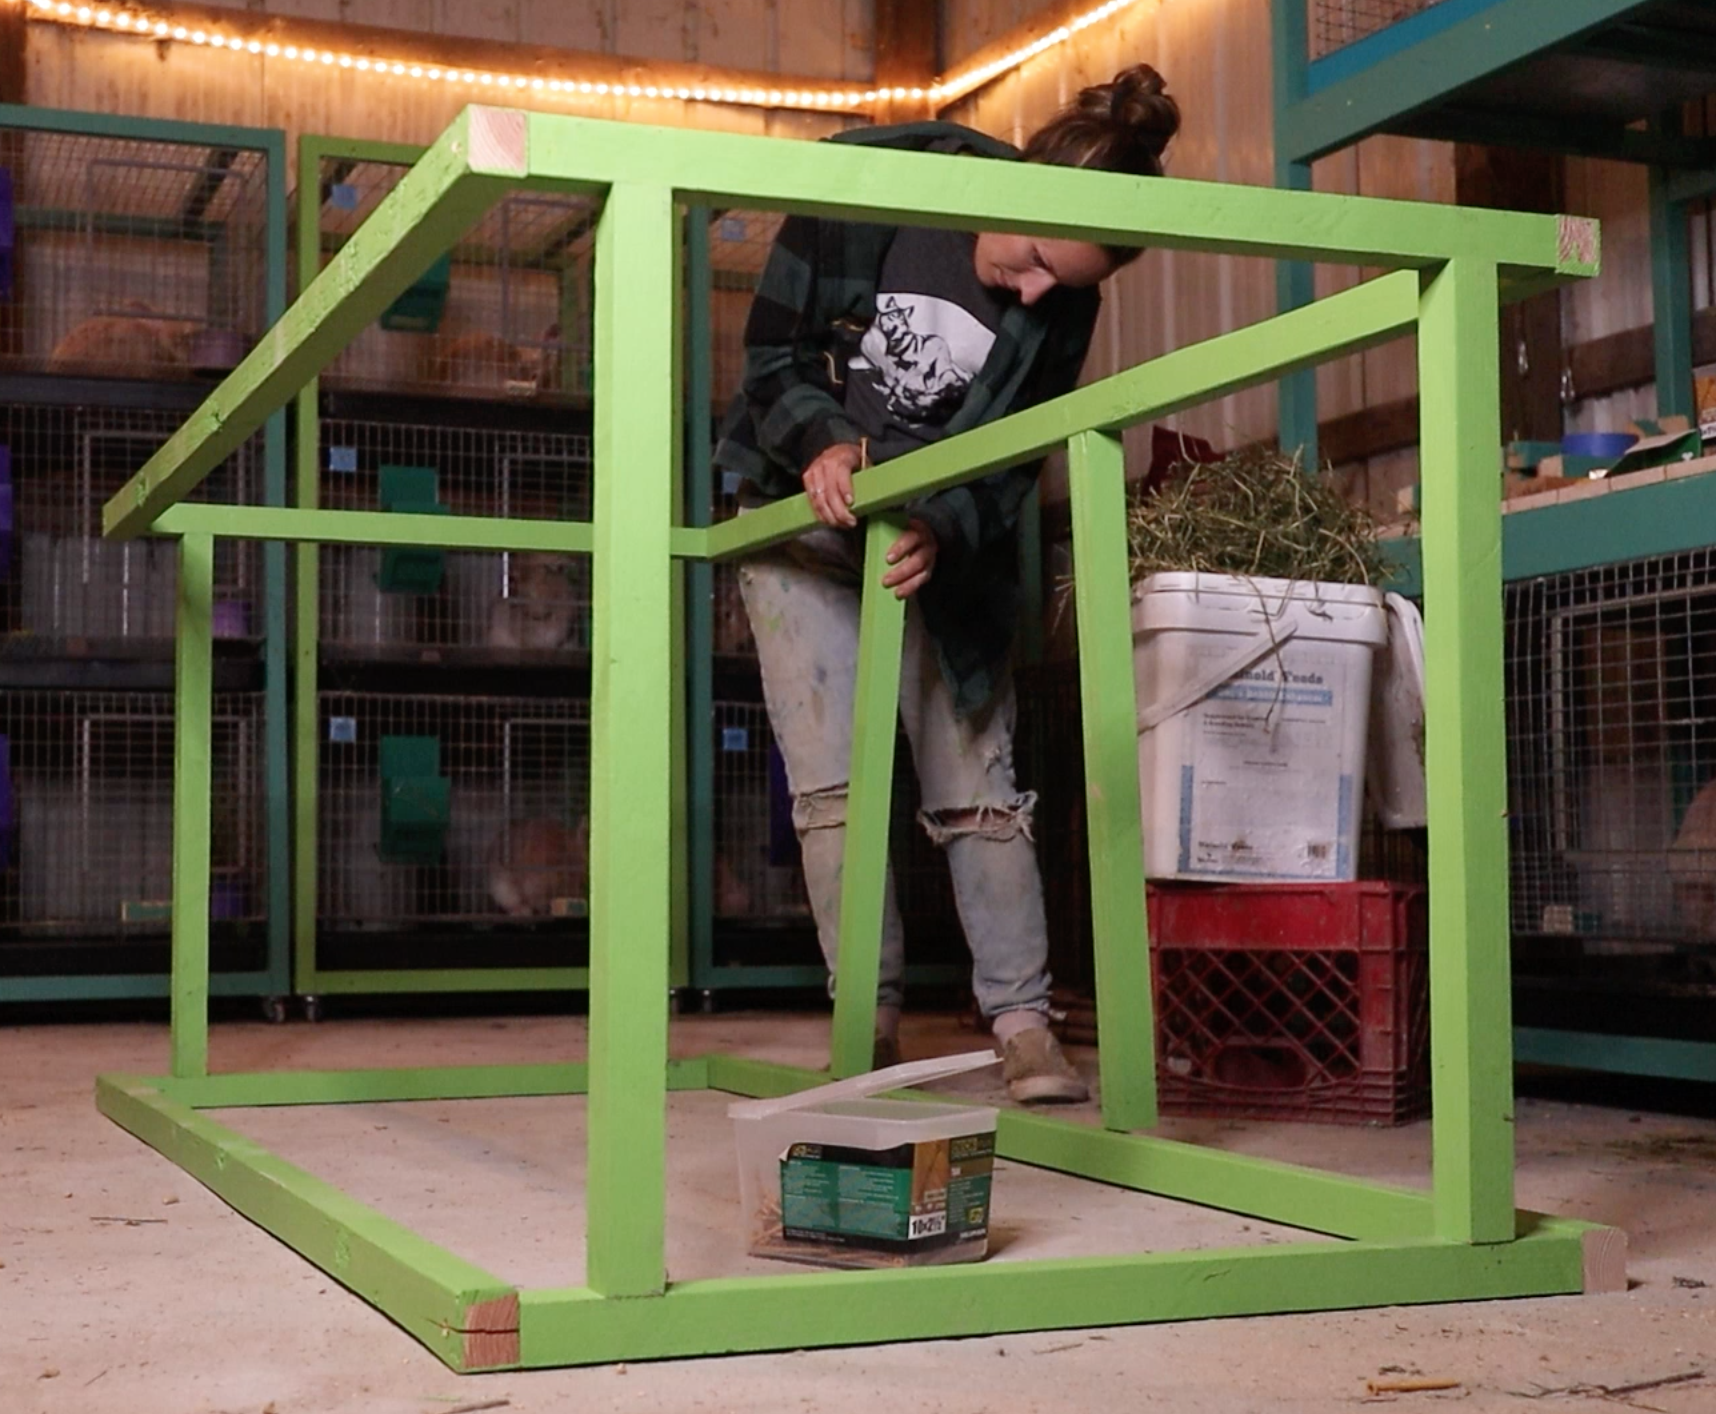
Now that both of our top and bottom pieces are assembled, it’s time to attach the sides, which are our 70.25” long pieces. Make pilot holes on the sides at each end and assemble like in the screenshot below. When one side is done, flip it and attach them to the other side.
Note: For ripped 2x4’s, I keep the short edge facing up during assembly.


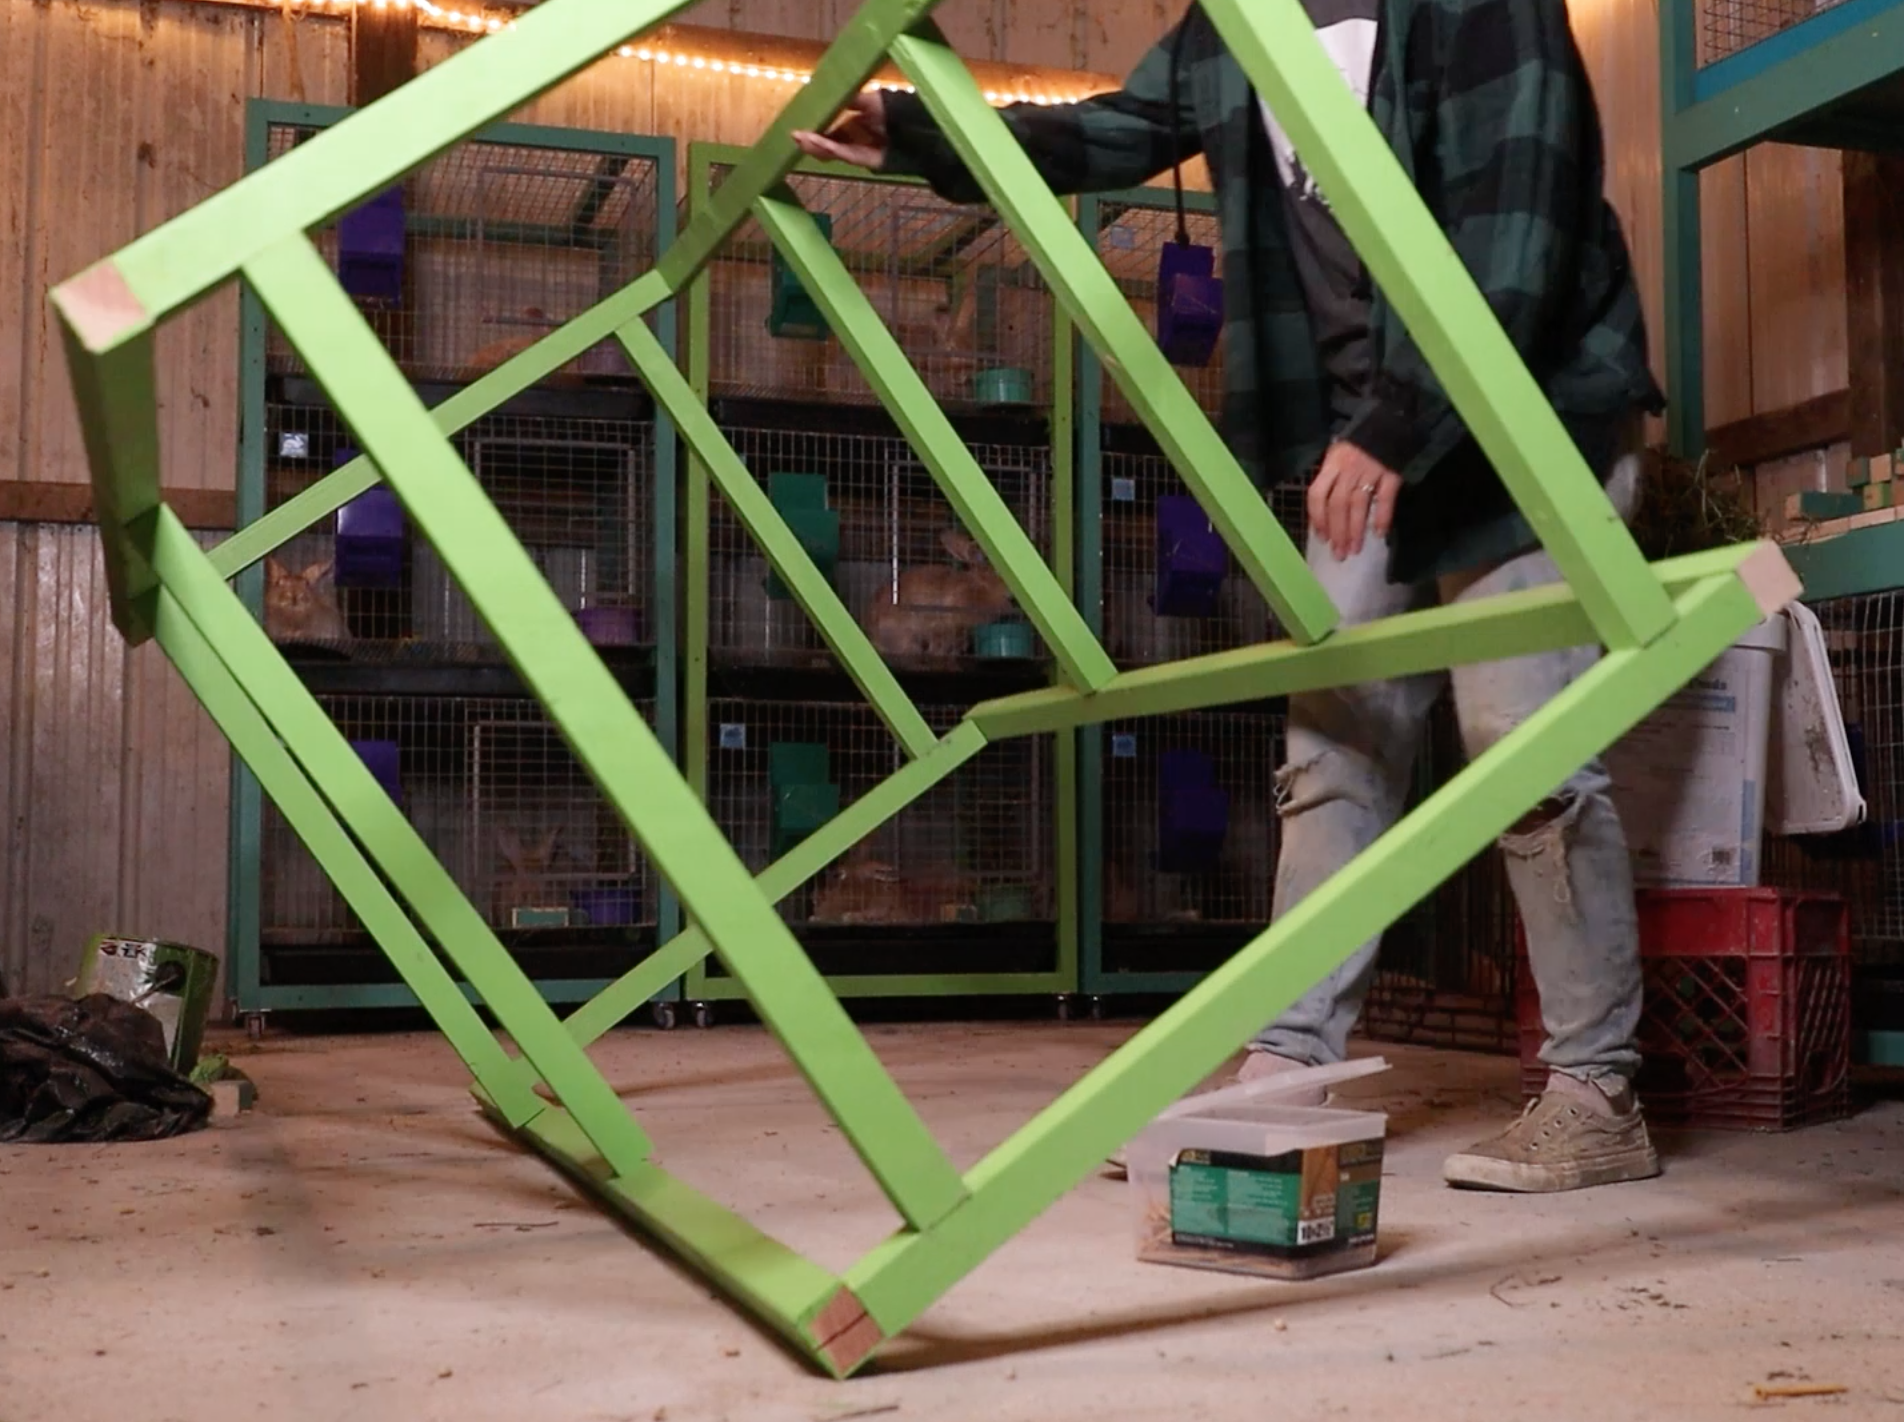
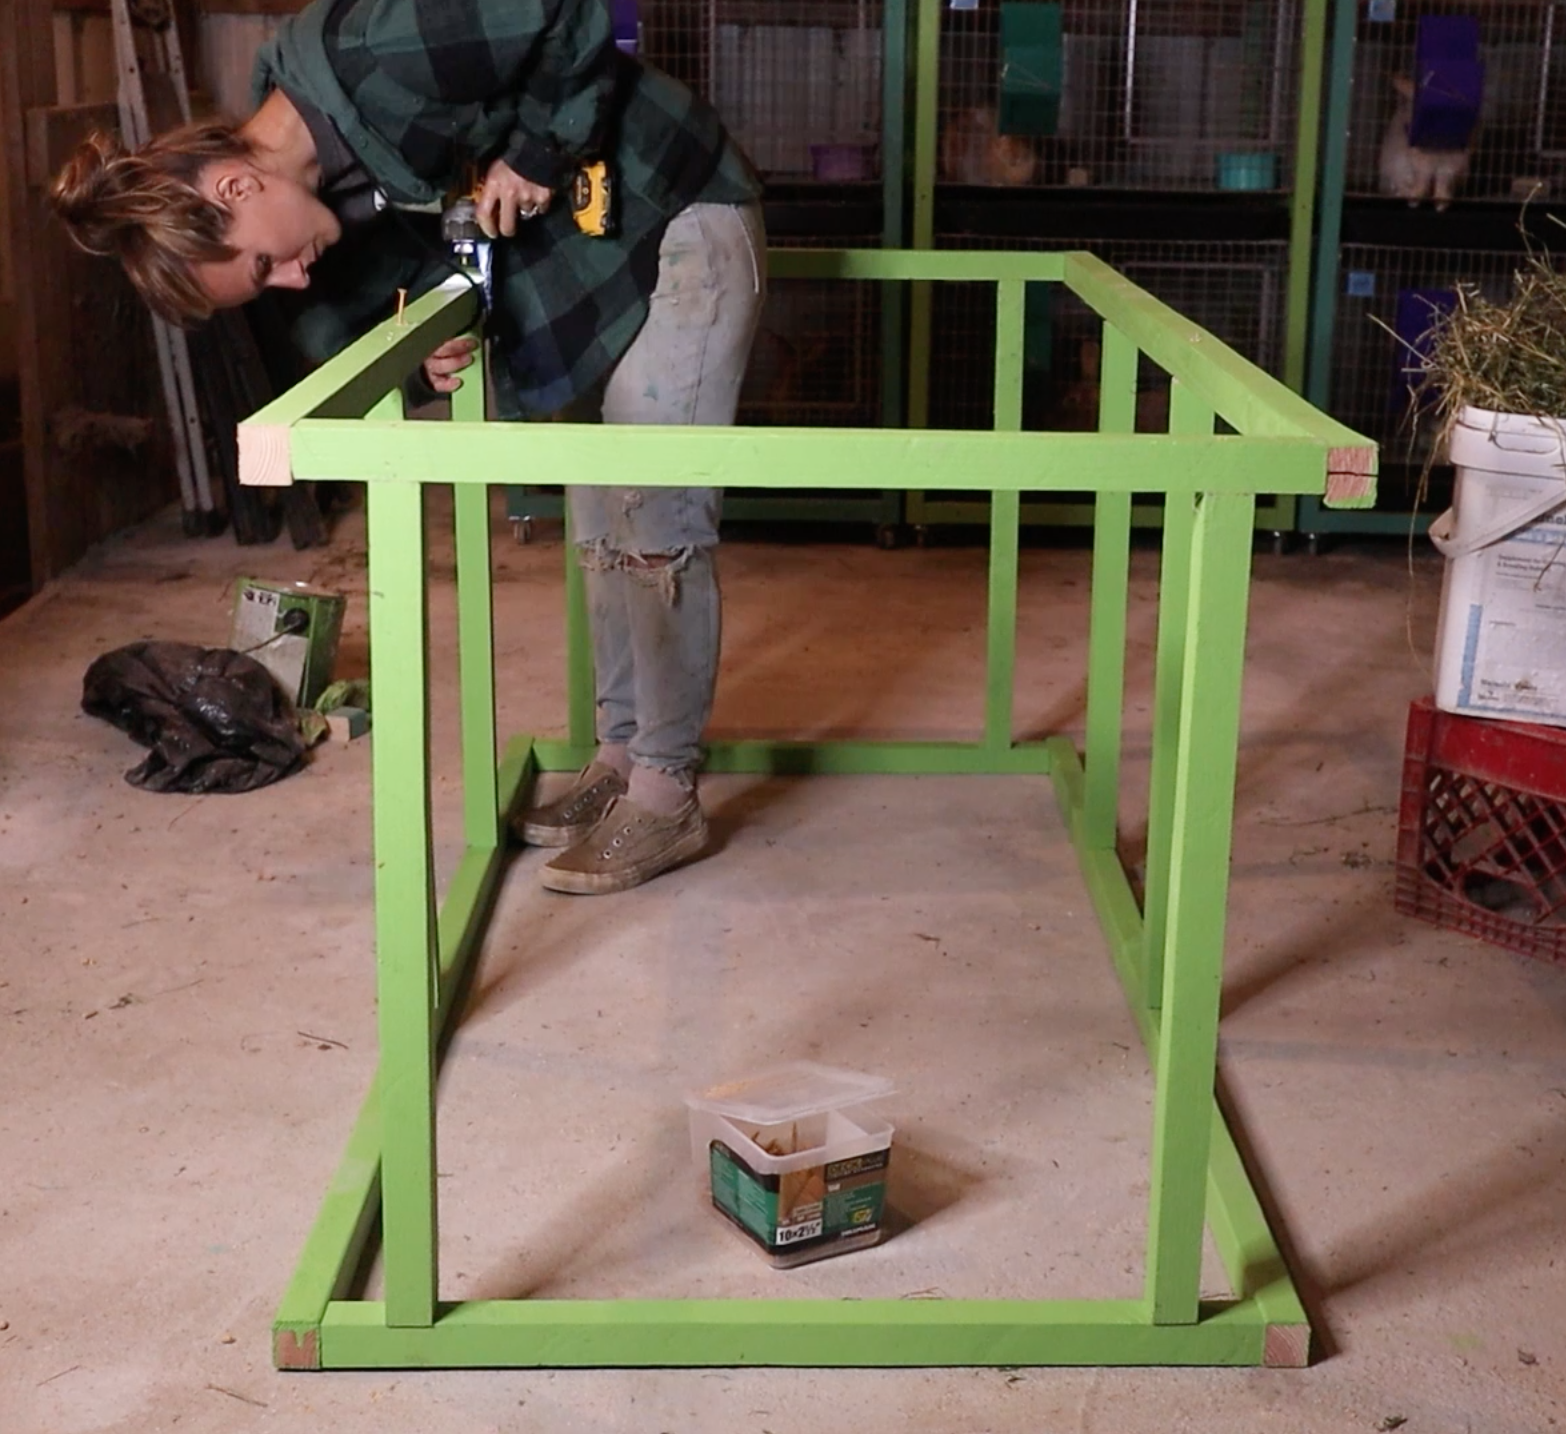
Step 4: Attach the Side Braces
The braces on the side of this stacker frame are very important because they keep the frame square and add necessary stability.
First, designate which end of the frame you would like to be the top or bottom. Measuring from the bottom up, mark at 27.5” and 49.5” on each side of the frame and drill pilot holes. Screw your side braces into each side. Flip the frame and repeat on the opposite side.

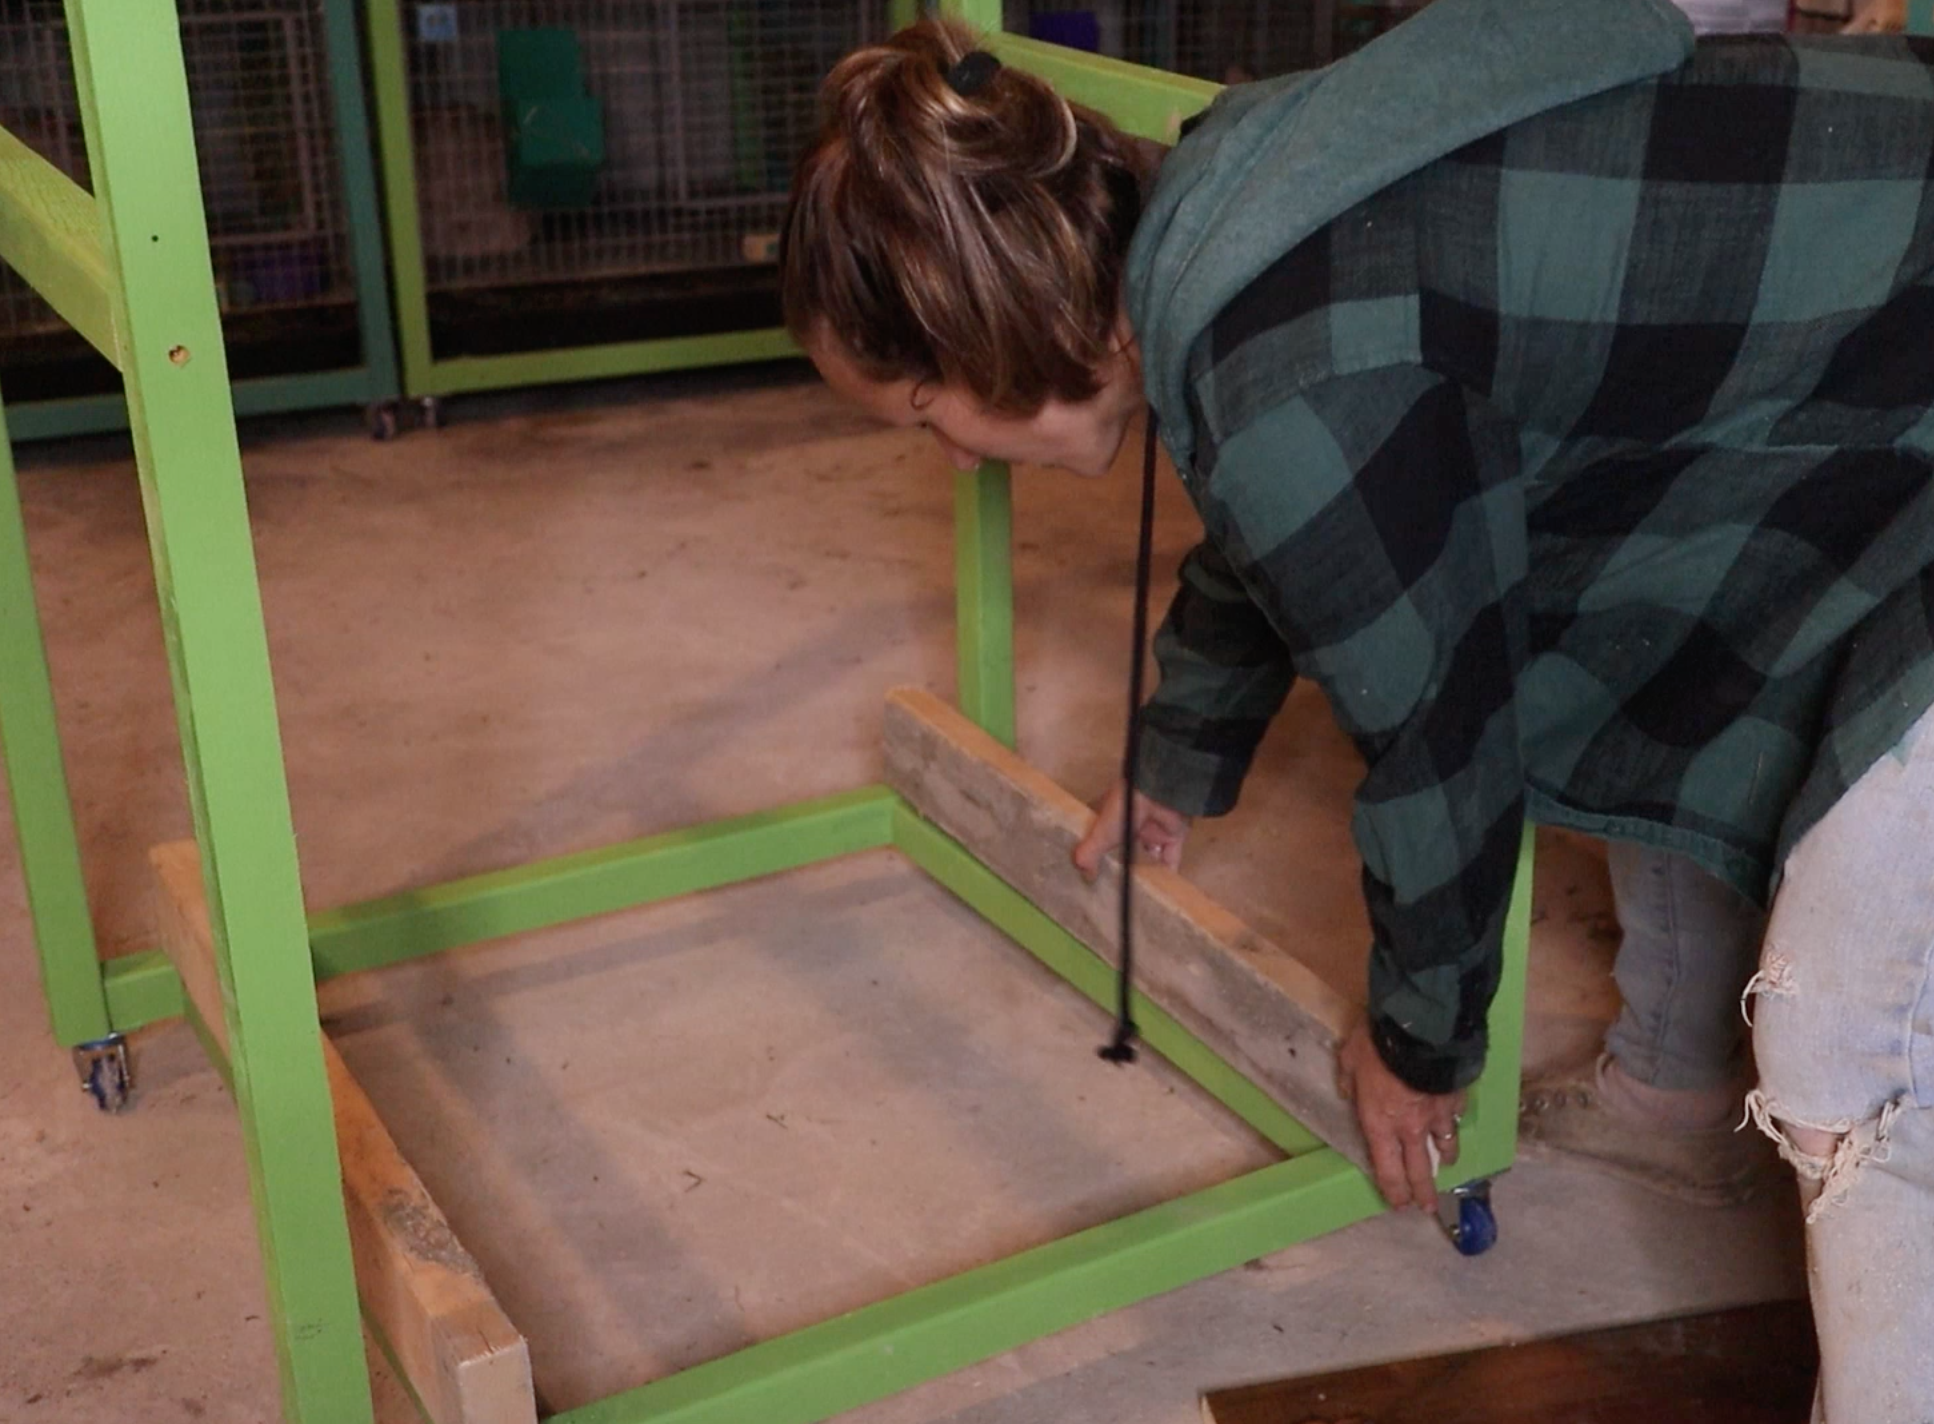
Step 5: Attach Swivel Casters
One of my favorite things about my stacker cages if the fact that I can move them out from the wall regularly (and easily!) for cleaning due to the fact that they have casters attached to the bottom.
The casters I bought were 1 5/8” x 7/8” light duty swivel casters from Harbor Freight. They were very affordable and seem to handle the weight of the stackers well.
Using your shorter screws, attach the casters to each bottom corner very carefully, taking care not to crack the wood. When finished, flip the frame so it sits upright on the casters.


Step 6: Attach the Modular Wire Cages
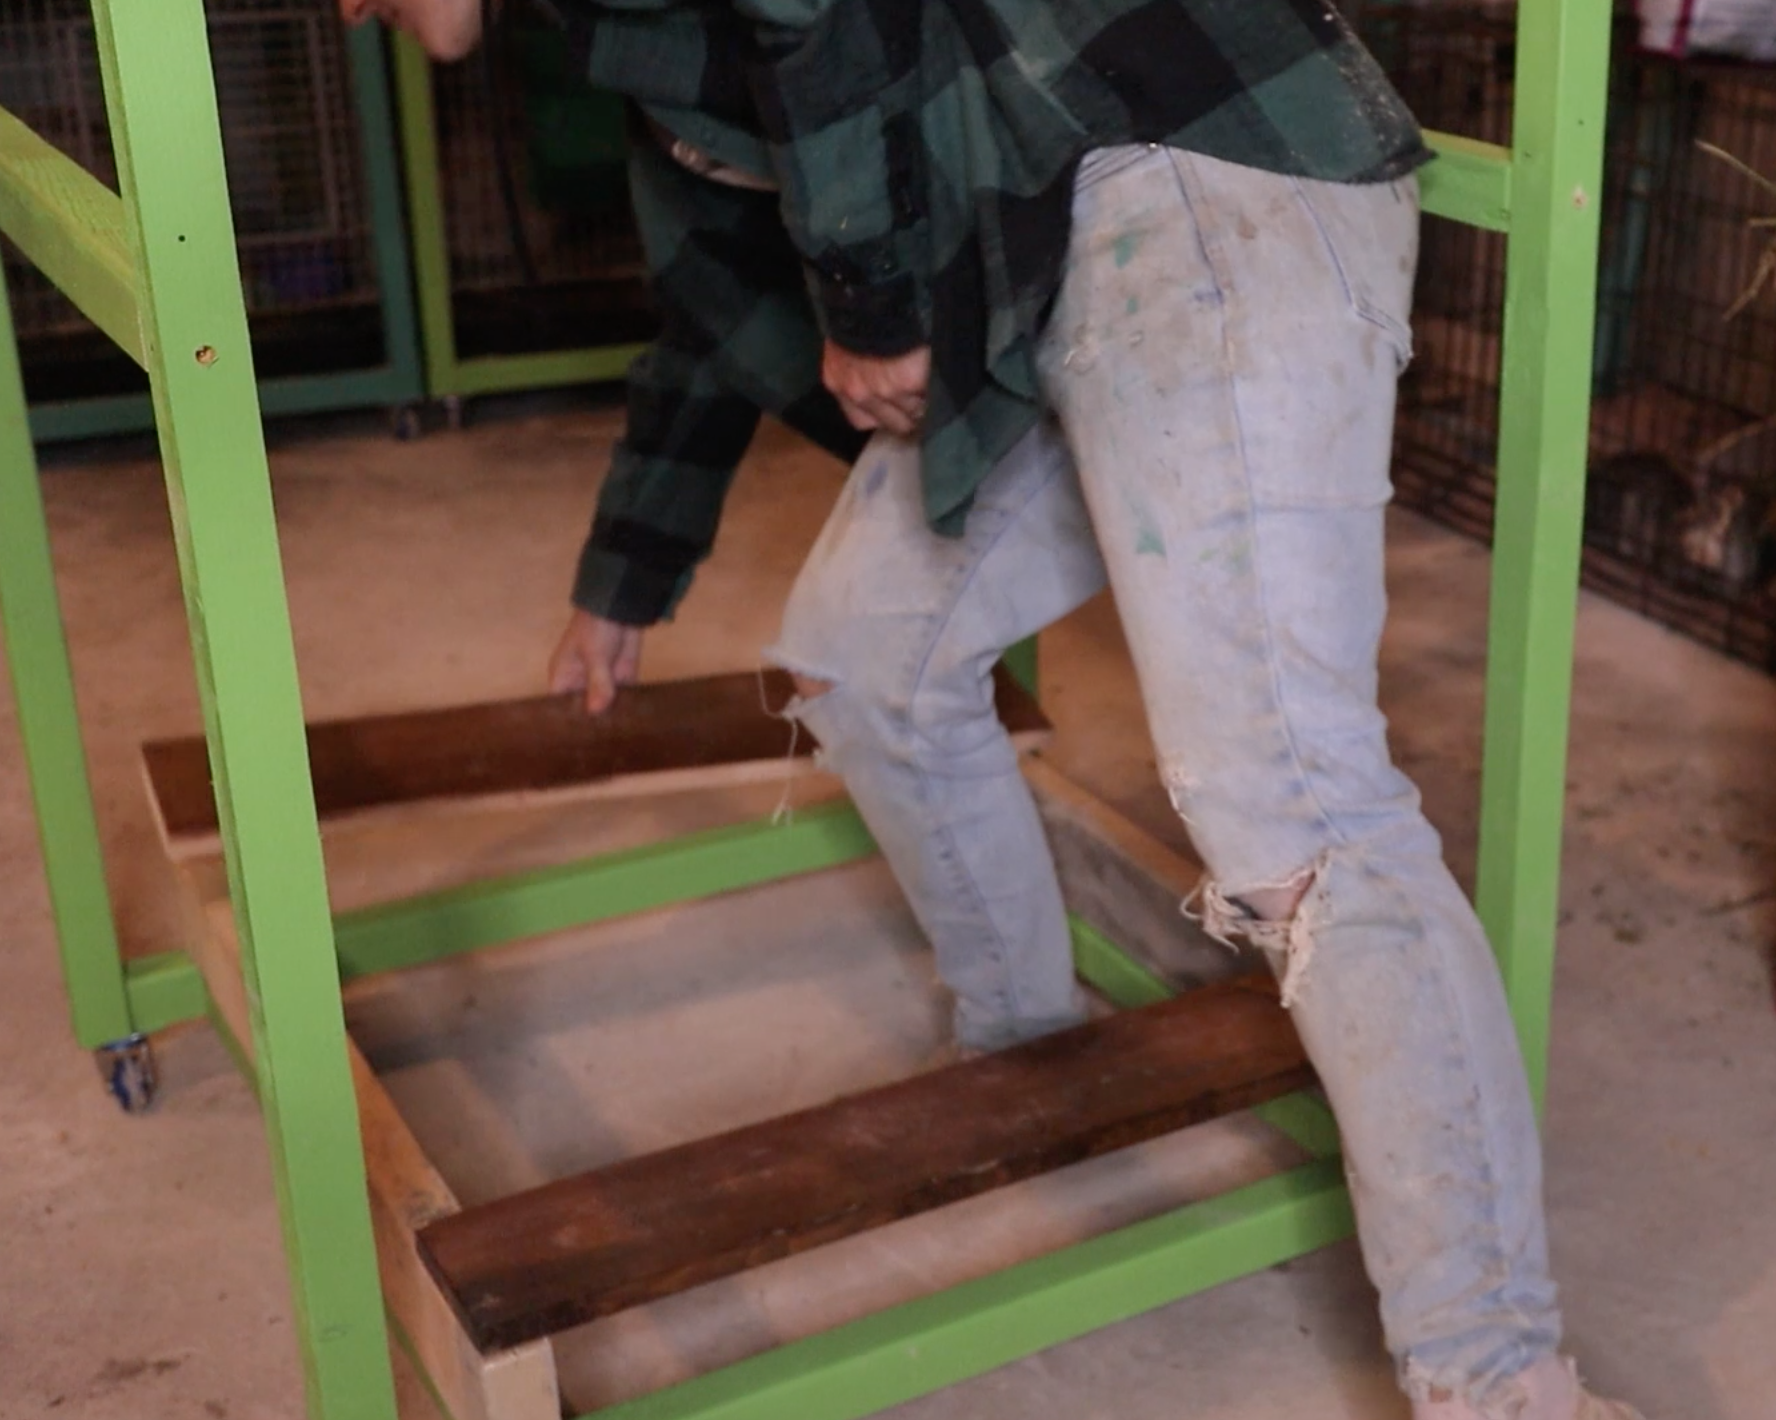
Finally we are ready to get cages into the frame! First though, I would encourage you to find some scrap wood to kind of “space out” where the tray will be underneath the frame. It’s much easier to lay scrap wood in the frame for the cage to sit on while doing this part. For me, I laid two pieces of 2x4’s with the short edge facing up, and then added another piece of wood on top of that, which made the space between the cage and the frame right around 4.25” - just about perfect for what I’m trying to accomplish.
A tray is typically between 2-3” tall (mine are 2.5”). Leaving 4.25” of space between the bottom cage and the tray will give me about 1.75” of headway between my cage and my tray when my trays are installed, which will make for easy sliding in and out. If this part is confusing to you, please watch my video for a little more visual clarity.
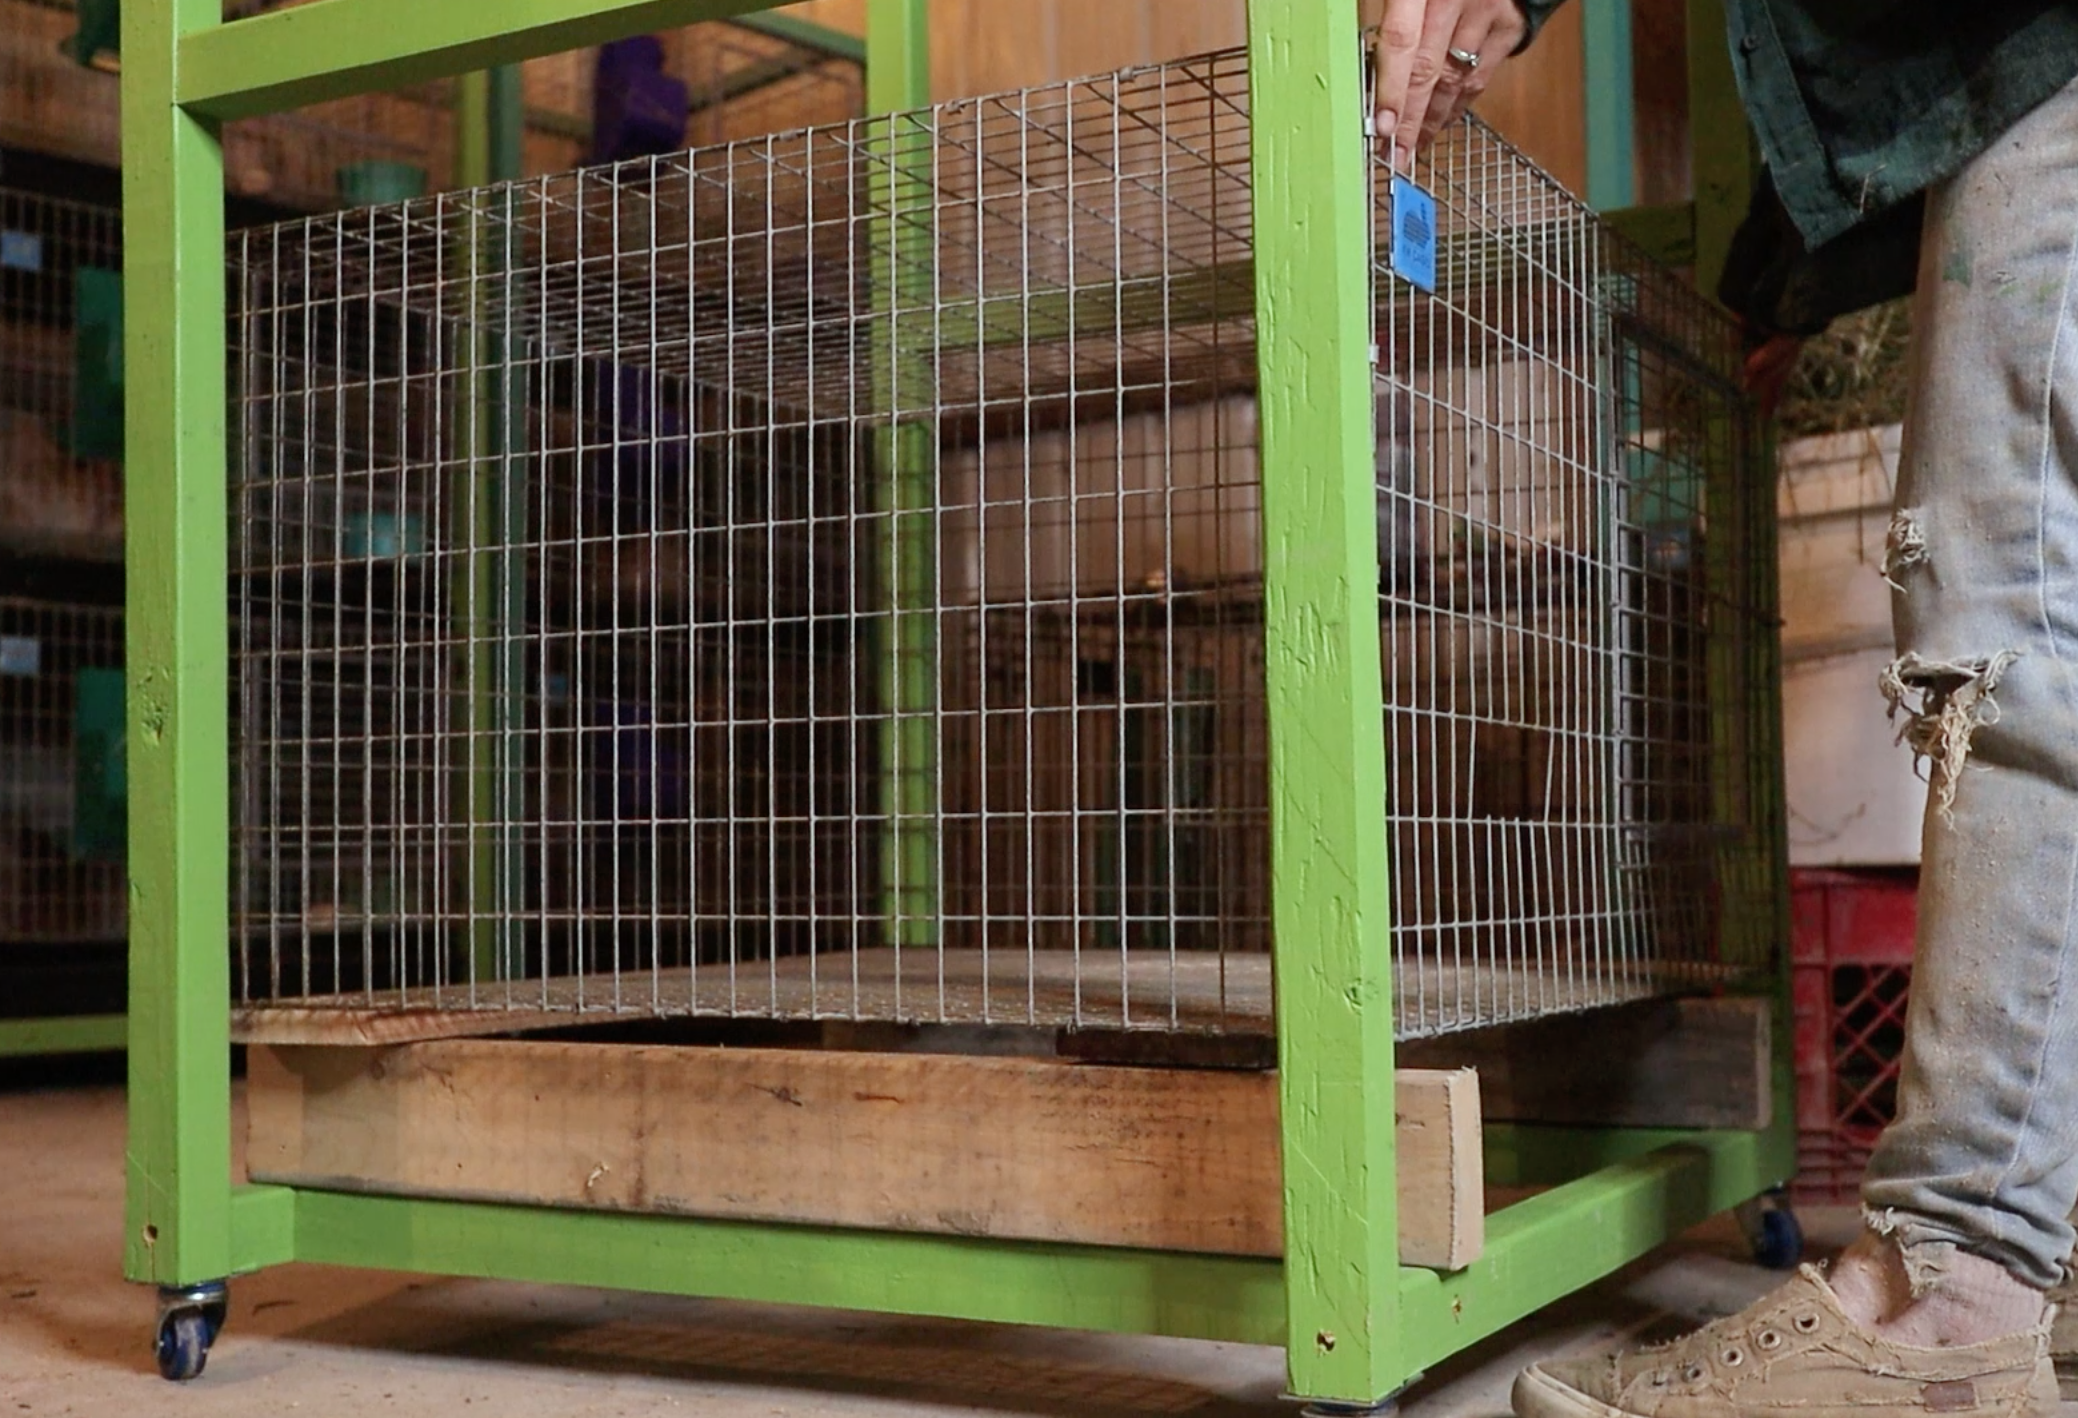
Insert your first cage into the frame on top of your scrap wood spacers and make sure that it sits flat and level.
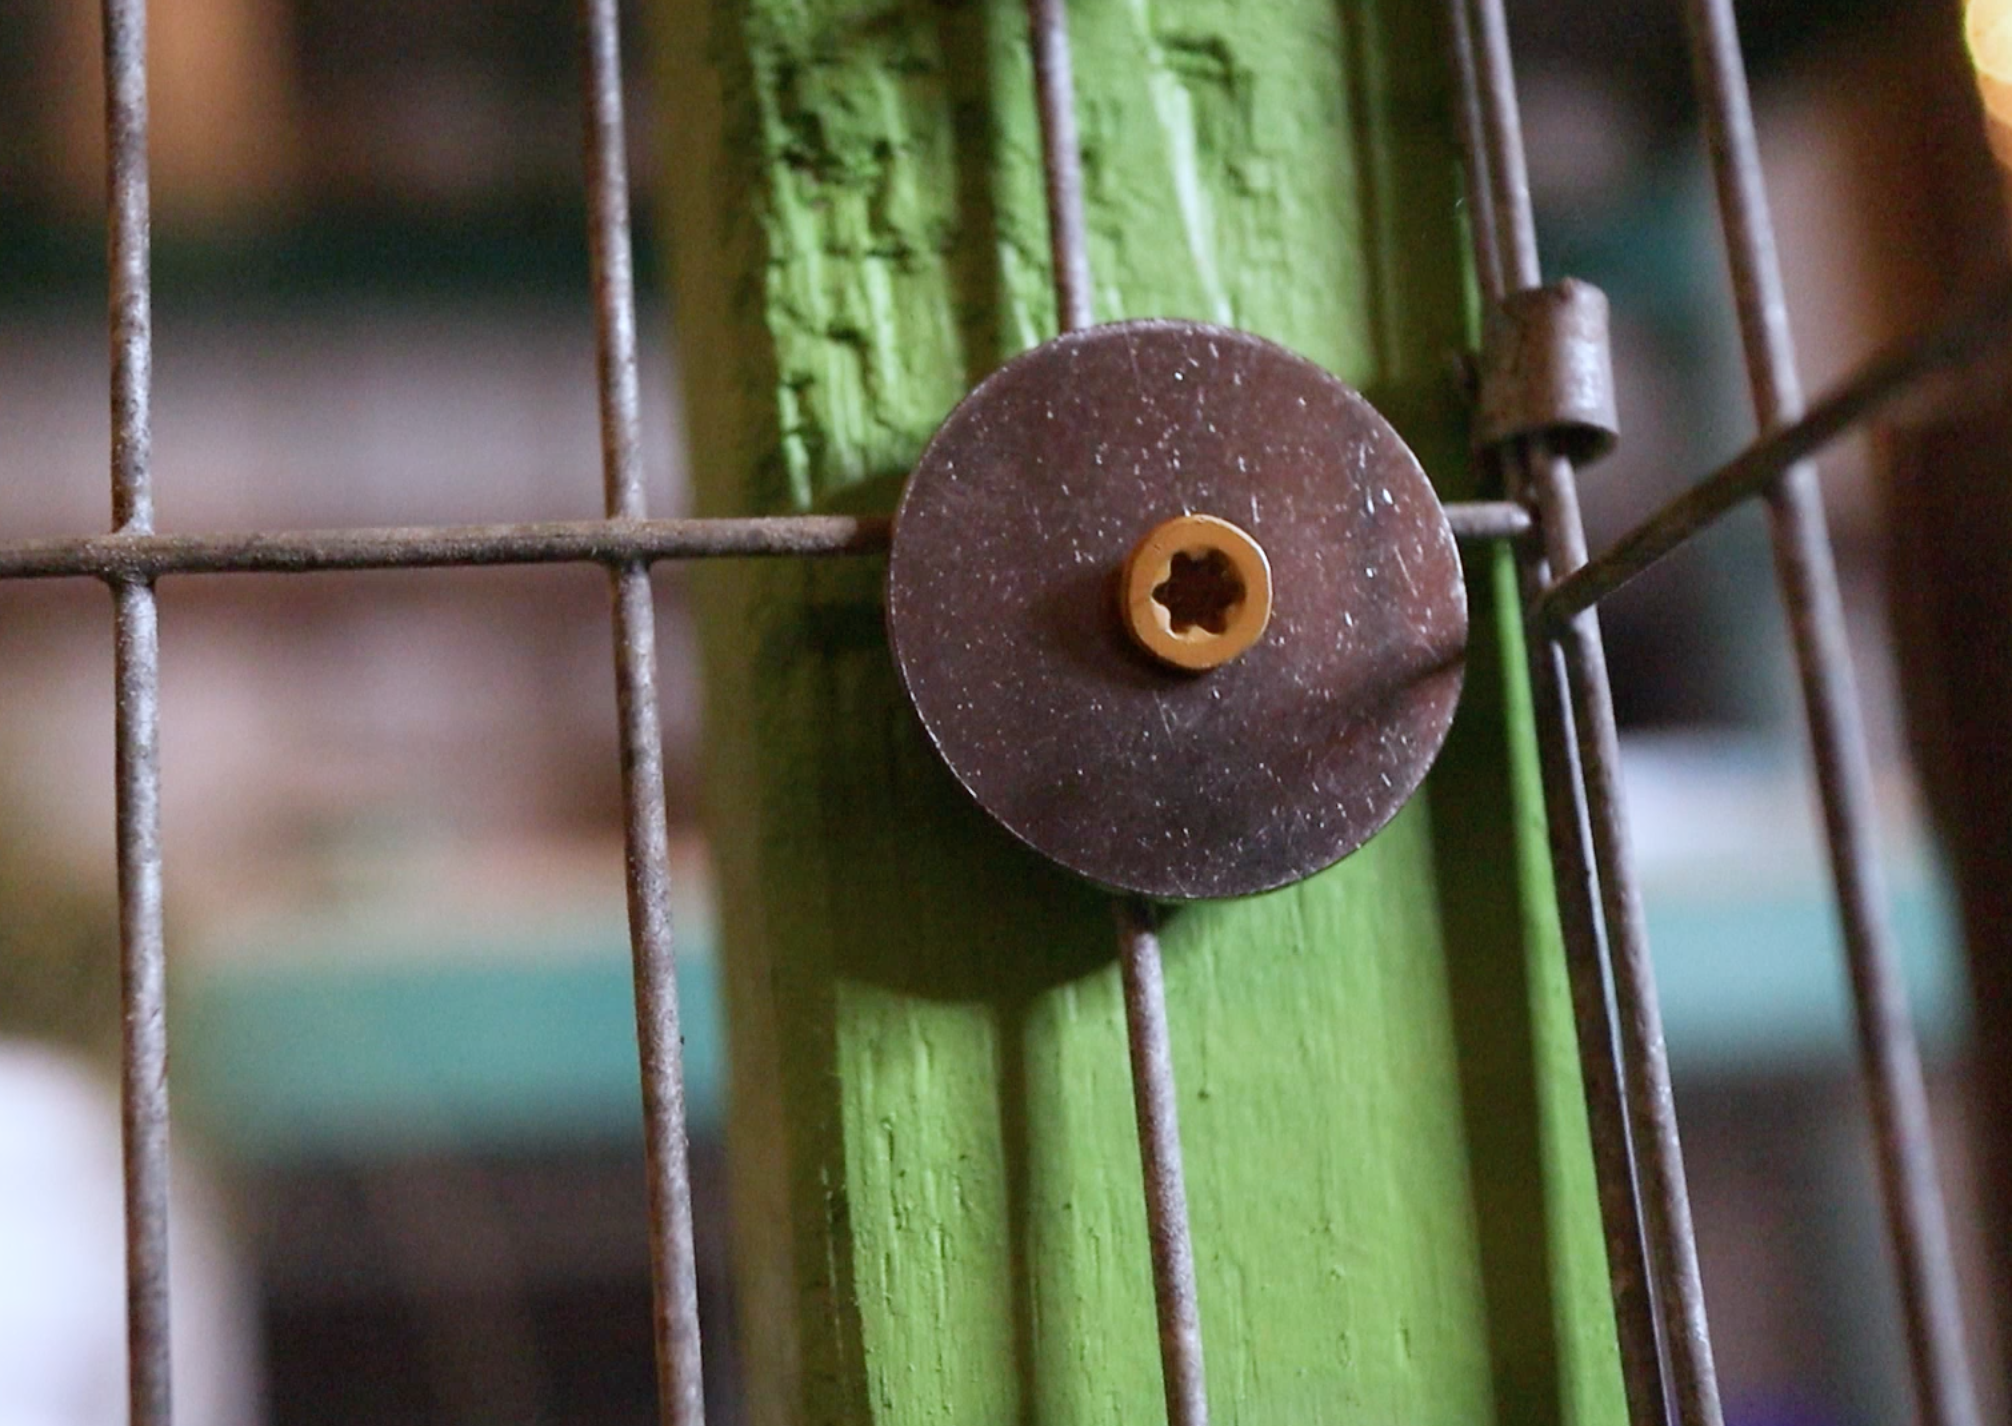
Insert four shorter screws into washers and screw inside the cages on all four top corners to “suspend” the cages within the frame. Don’t tighten them all the way yet - we will do this once all cages are in the frame (otherwise it may be too tight of a fit for the rest of the cages). Once all four screws with washers are attached, you can remove the scrap wood spacers under the cage.
Move the scrap wood spacers to the top of the bottom cage and repeat these steps for the second cage.
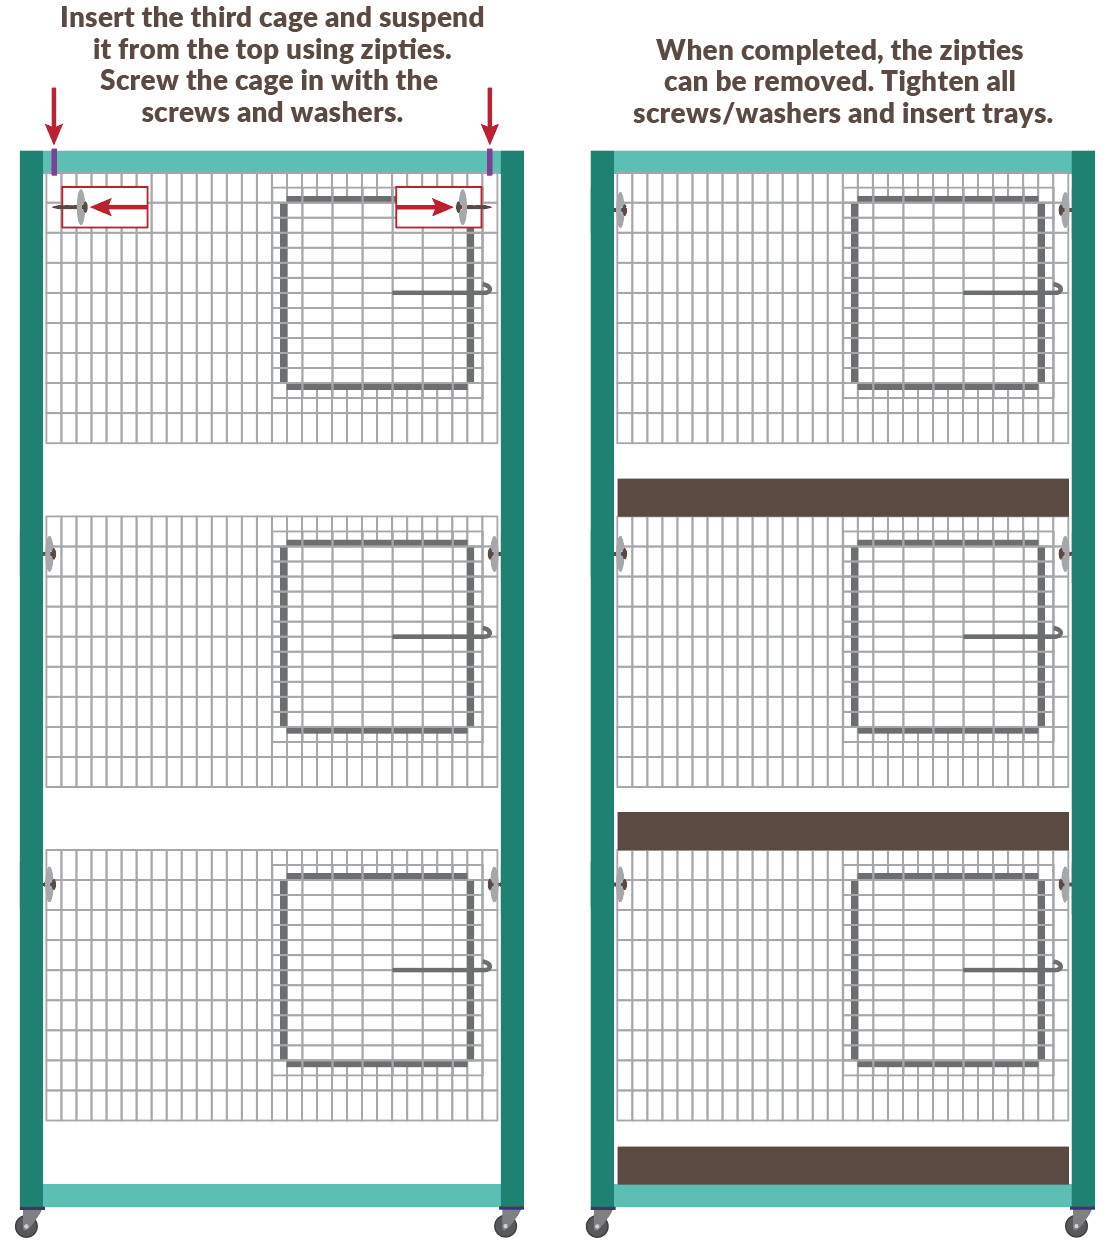
For the third cage, insert the cage into the frame and suspend it to the very top of the frame using zipties. Zipties allow us to get the cage attached to the very top of the frame so that it looks nice and clean.
Once the third cage is attached with our screws/washers, the zipties can be removed and the trays can be inserted in the frame!

Congratulations!
Your first stacker is done and ready to add rabbits :)


Final Notes
Using this method for creating my stackers, I ended up getting a little creative and made an additional barn desk area as well as a monster stacker that houses three 30” x 72” double modular cages. You can adjust width measurements to this plan to house any size cage. Overall I am very pleased with how my rabbitry has come together using the stacker method. It’s easier to check on each rabbit and keep up with cleanliness.
If you make your stacker frames using my plans, let me know how it goes in the comments below!


I live in north-central Indiana in the country with my husband, our two dogs, and a lot of animals :) I love to craft and DIY and I’m obsessed with learning new things. I am driven by coffee and my love for animals. Learn more…