Building My Rabbit Hutch with KW Cages
Finally I have created an ideal setup for my backyard rabbits, and I’ve created a step-by-step for my viewers along the way! I raise Silver Fox and Creme d’Argent rabbits for show, breeding stock, and meat. I am always trying to improve their infrastructure to give them ideal living conditions, and this hutch addresses many of the problems that I ran into on my last build. To see the many mistakes of my first hutch build, check out this video.
Some of the Features
Ventilation
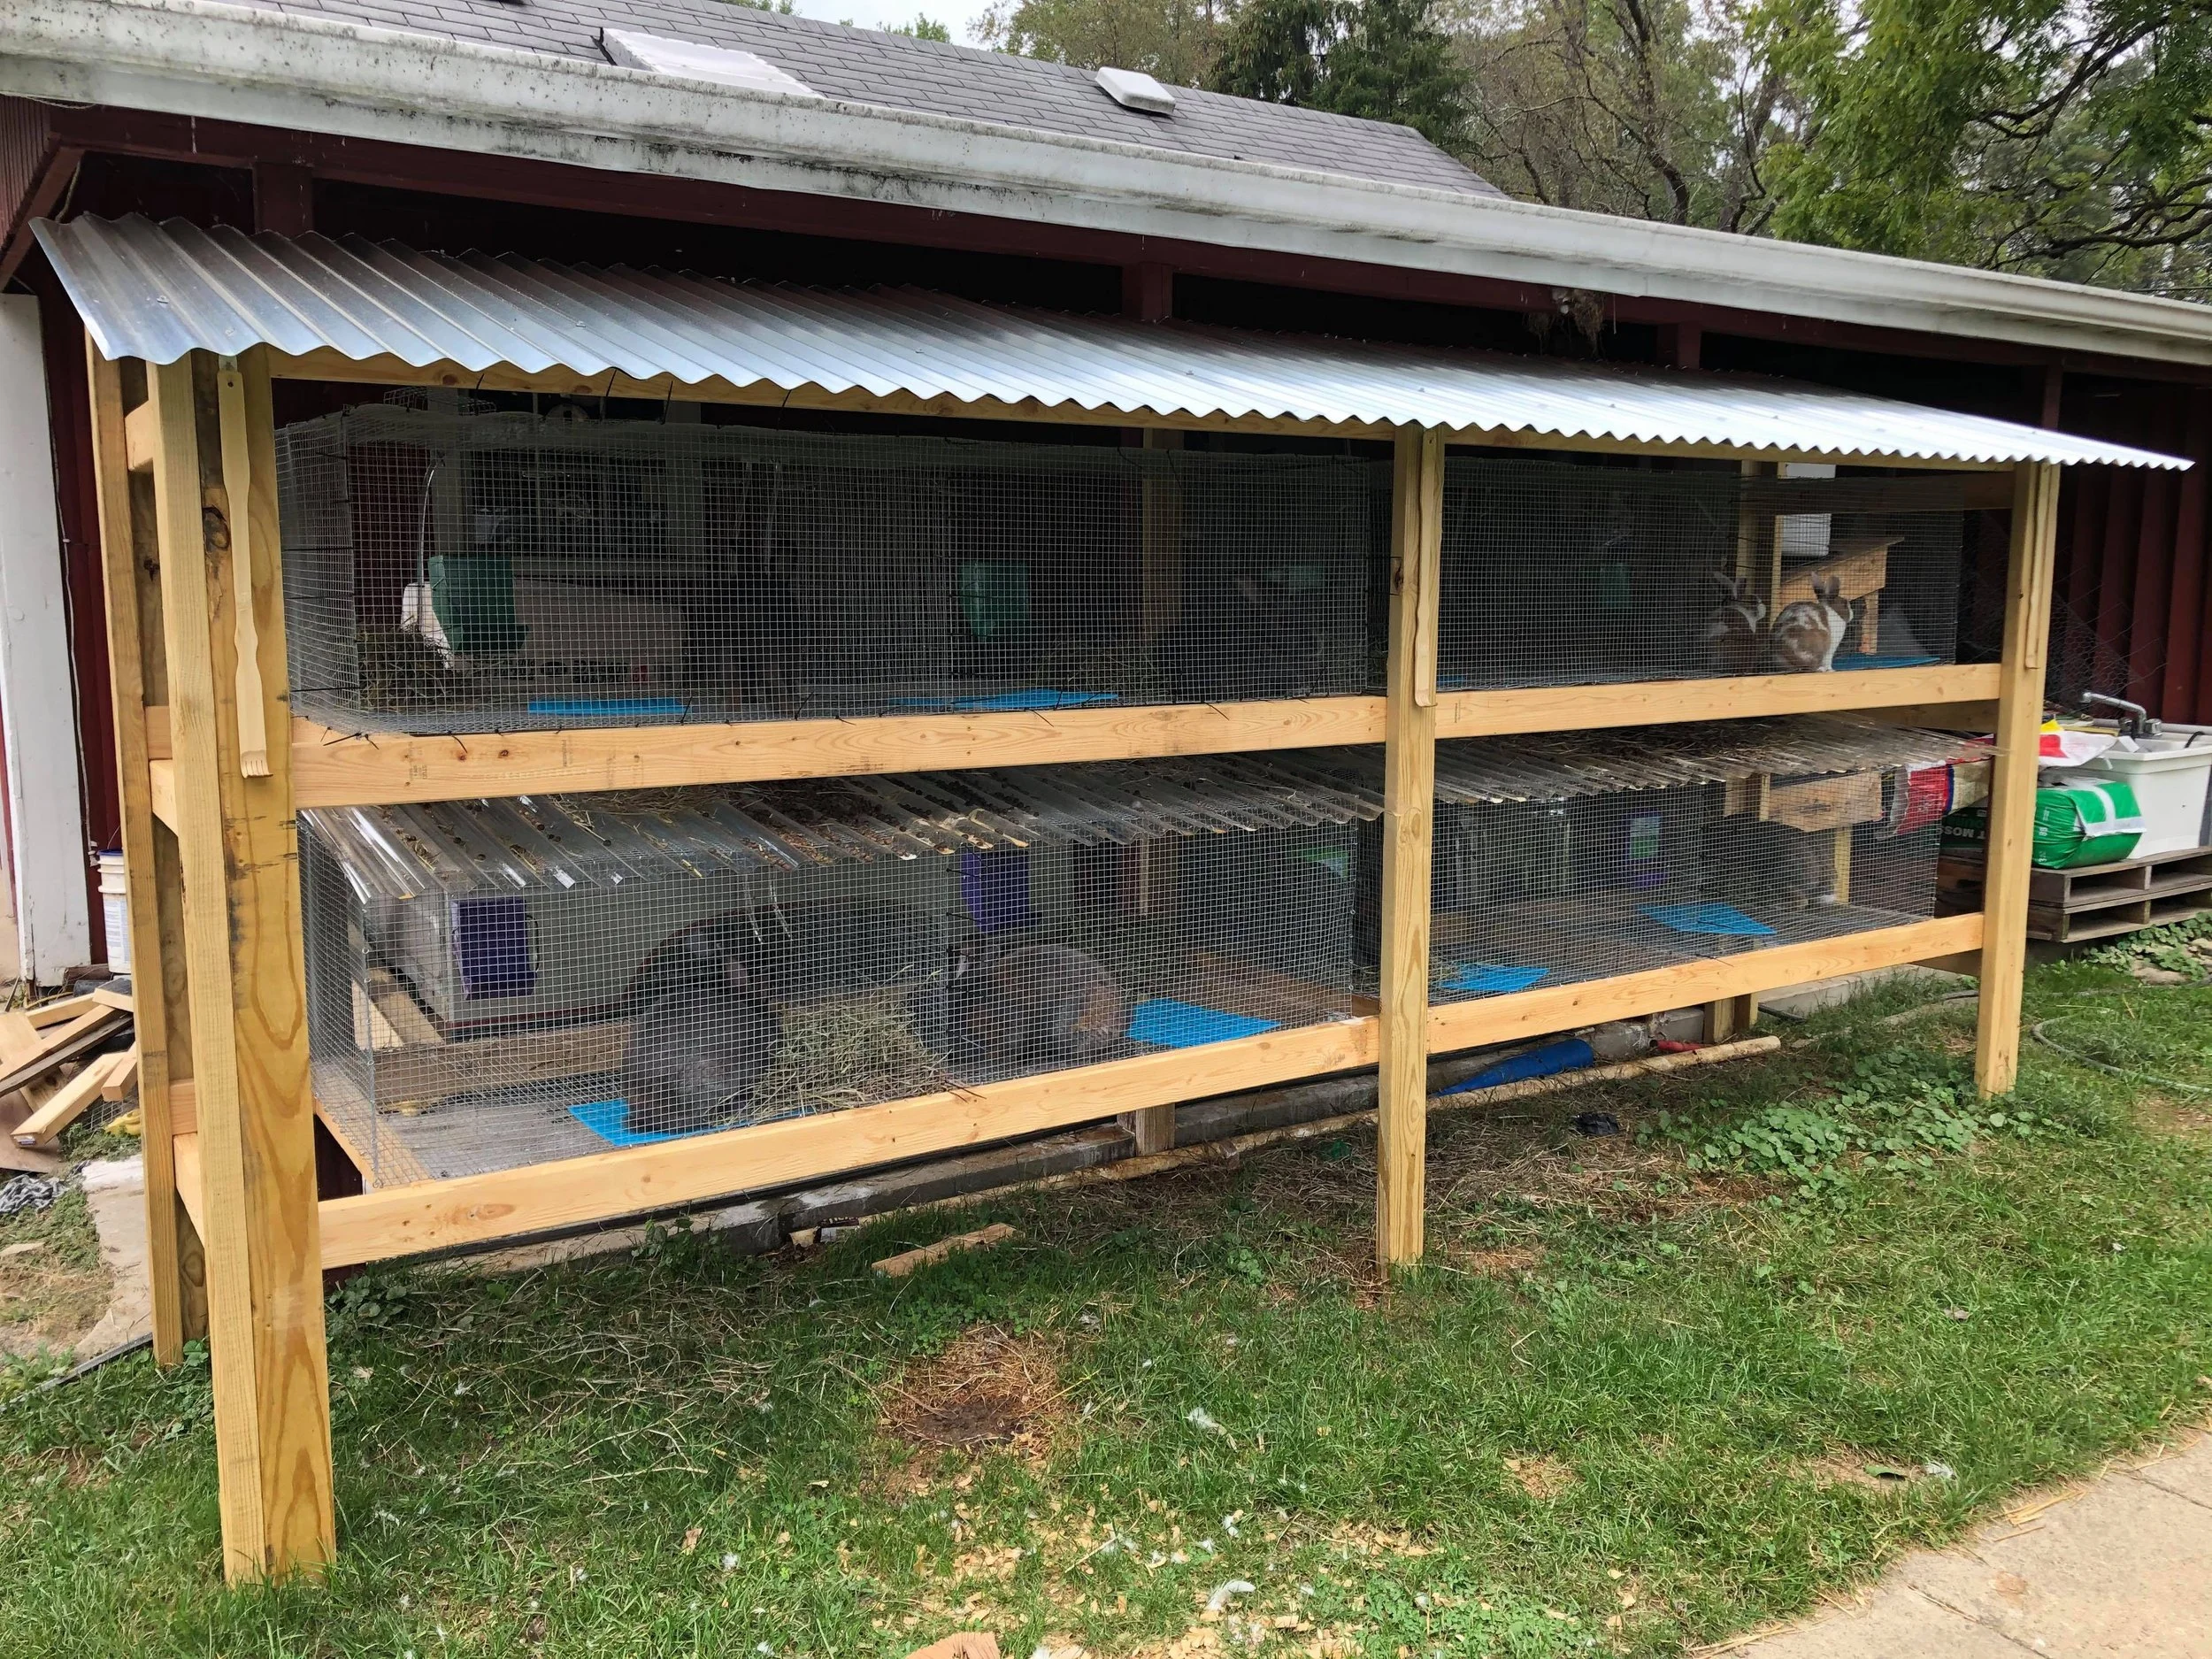
This is probably the most important part of my new hutch build. My old hutch was quite cramped. Rabbits were side by side and there was no room for fans to be installed on the side. I also had trays sitting directly below the cages, making airflow impossible to come from any direction but the front. With my new build, air flow is able to come in from all directions in the hotter months. Cages have plenty of room to sit in the structure without butting up against each other, and I’ve made sure to allow room on the sides of the hutch to install standard box fans, so when we have temperatures in the 90’s next year, the rabbits will have constant air flow. Fresh air flow is SO important when it comes to housing rabbits! I’m a firm believer that without proper ventilation, rabbits are much more susceptible to respiratory problems.
Location
I positioned my old hutch right outside our sliding door against our house for easy access, but missed a few key problems when putting it there. It was south-facing, which isn’t ideal. In Indiana, weather most often moves west to east because that is the way the jet stream blows. Have you ever noticed when looking at the radar as a storm is approaching that it’s usually moving that way? Because of this, I dealt with rain blowing into my hutches on more than one occasion. I never realized how important east-facing hutches were before this last year. They are the way to go to avoid rain blowing into your rabbit hutches. Now that my new hutch is east-facing, the rabbits enjoy a nice rain storm without getting wet.
Another problem with the location of my old hutch was the direct sun. Talk about working overtime to make sure that rabbits weren’t too hot! This summer was difficult because I had failed to place them in the shade. This is what pushed me over the edge to remodel my rabbits’ living conditions. In the new hutch, they are now located in the shade of our big backyard oak tree. The temperature there is much more mild, and they are so much happier there!
Also, I mentioned above how my rabbits were placed within close proximity to our house and sliding door. As convenient as that is in the winter months, we have dealt with flies galore this year buzzing into our house! So moving that rabbits away from the house has be the best decision for both them and us.
Cages
Finding a quality rabbit cage is important. You want something that’s going to last and not fall apart within a year. If you are into rabbits for the long-haul, I would absolutely recommend KW Cages to you. They are an INVESTMENT. Yes, they are expensive, and shipping is going to be a bear if you can’t pick them up on location. But I can tell you that the quality of these cages are absolutely wonderful. Before I was using cages from Tractor Supply… you know, that black-coated ones that aren’t supposed to rust? Well, they do, and they are very poorly made. In my short time owning those cages I had rust everywhere and even a couple of doors fell apart. My point is, you get what you pay for. KW Cages are worth the investment (and they look pretty, too).
The Build
Materials:
30 - 2x4’s (8ft)*
4 panels of corrugated metal roofing (2.16ft x 8ft)
2 panels of clear plastic roofing (2.2ft x 8ft)
2 3/4” screws
1 1/2“ screws
1” roofing screws (metal to wood)
Small eyelets
Zipties
4 - KW Cages 72x30 (double cage) modular design - CLICK HERE
*A note on whether you need pressure treated wood or not...
I would recommend getting pressure treated 2x4’s if possible for any outdoor building project, especially if you aren’t going to paint your hutch. But if you ARE going to paint (like I did) then you should be fine just getting 10 pressure treated (for the legs) and 20 regular 2x4’s. The price of lumber (especially treated) has raised by a lot in 2020, so that is what I did.
Tools:
Drill
Circular Saw (wood & metal blade)
Measuring Tape
Carpenter’s Square (my best building friend)
Hammer
Twist drill bit
Level
Optional:
Paint color of choice + paint brushes and/or rollers

Step 1: Cut all the 2x4’s.
FRONT LEGS:
3 pieces @ 78 1/8” @ 15° angle on one end along the 3.5” side
2 pieces @ 78 1/8” @ 15° angle on one end along the 1.5” side
BACK LEGS:
3 pieces @ 69 1/8” @ 15° angle on one end along the 1.5” side
2 pieces @ 69 5/8” @ 15° angle on one end along the 3.5” side
MIDDLE PIECES:
8 pieces @ 83”
4 pieces @ 83”, ripped along the top longways at a 15° angle
MIDDLE SUPPORTS:
10 pieces @ 29“
SIDE PIECES:
6 pieces @ 32”
ROOF SUPPORTS (rip a couple 2x4’s in half to create several 2x2’s. Alternatively you could just buy 2x2’s but I like to save money… and kill my batteries):
8 pieces @ 30” cut @ 15° angle on both sides
2 pieces @ 29” cut @ 15° angle on both sides
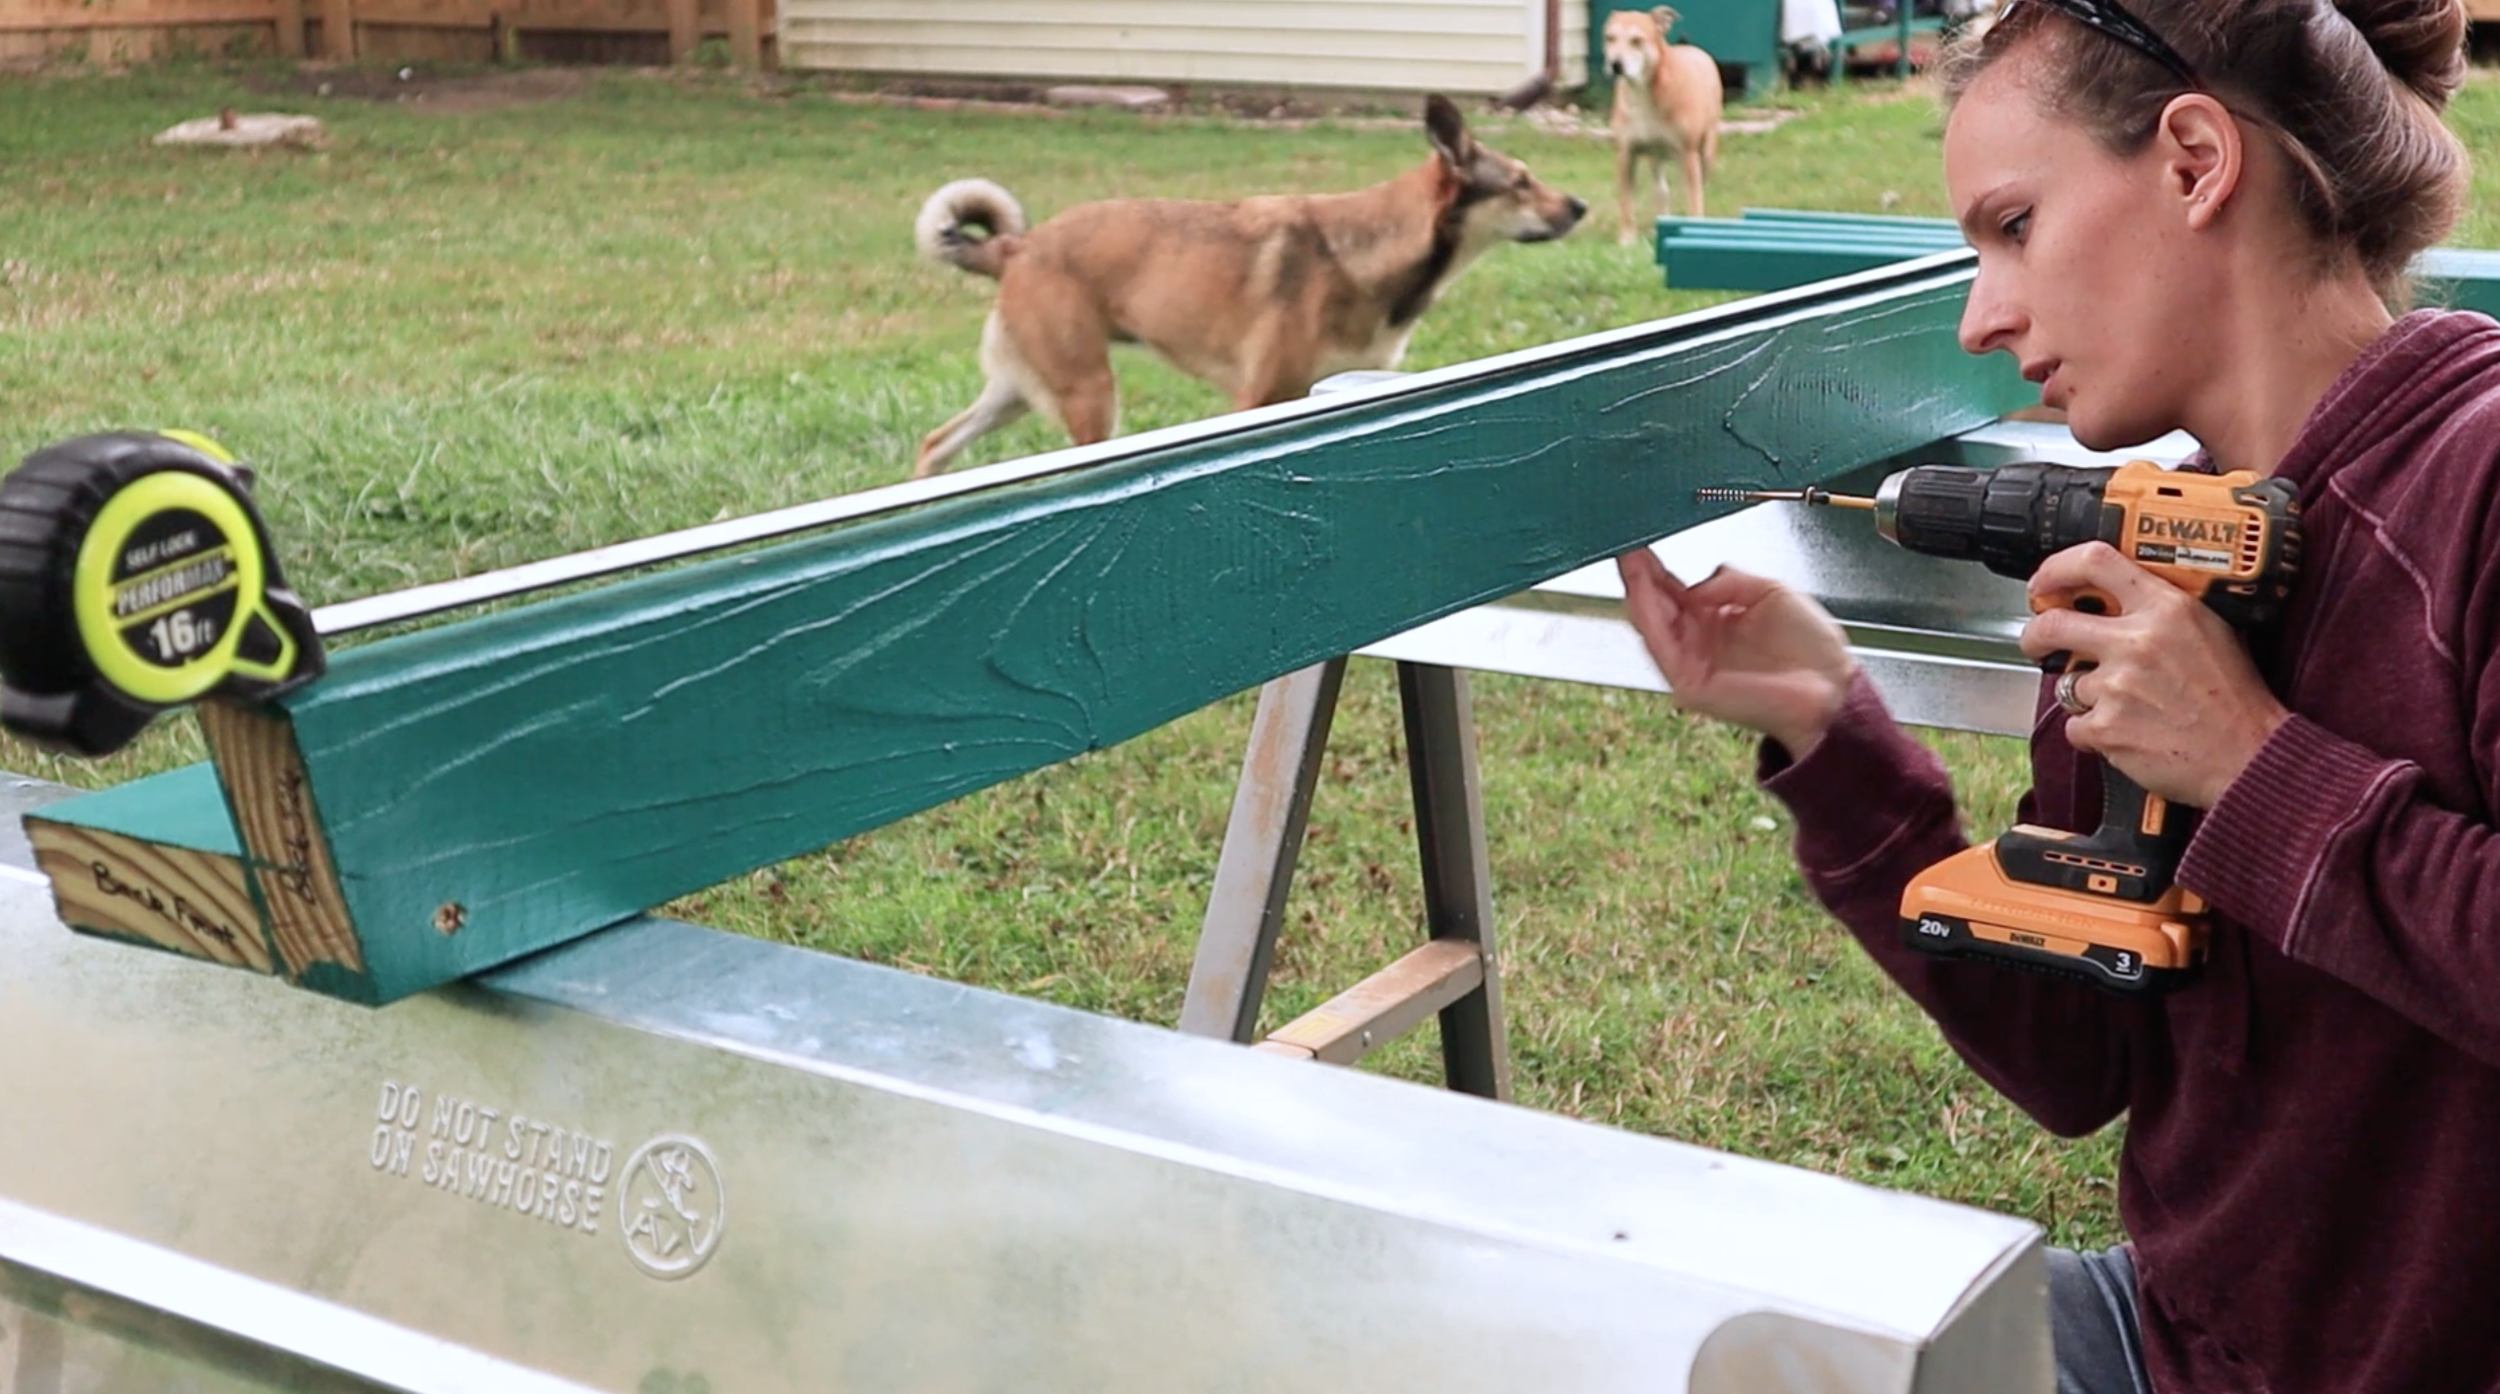
Step 2: Paint or Stain (Optional)
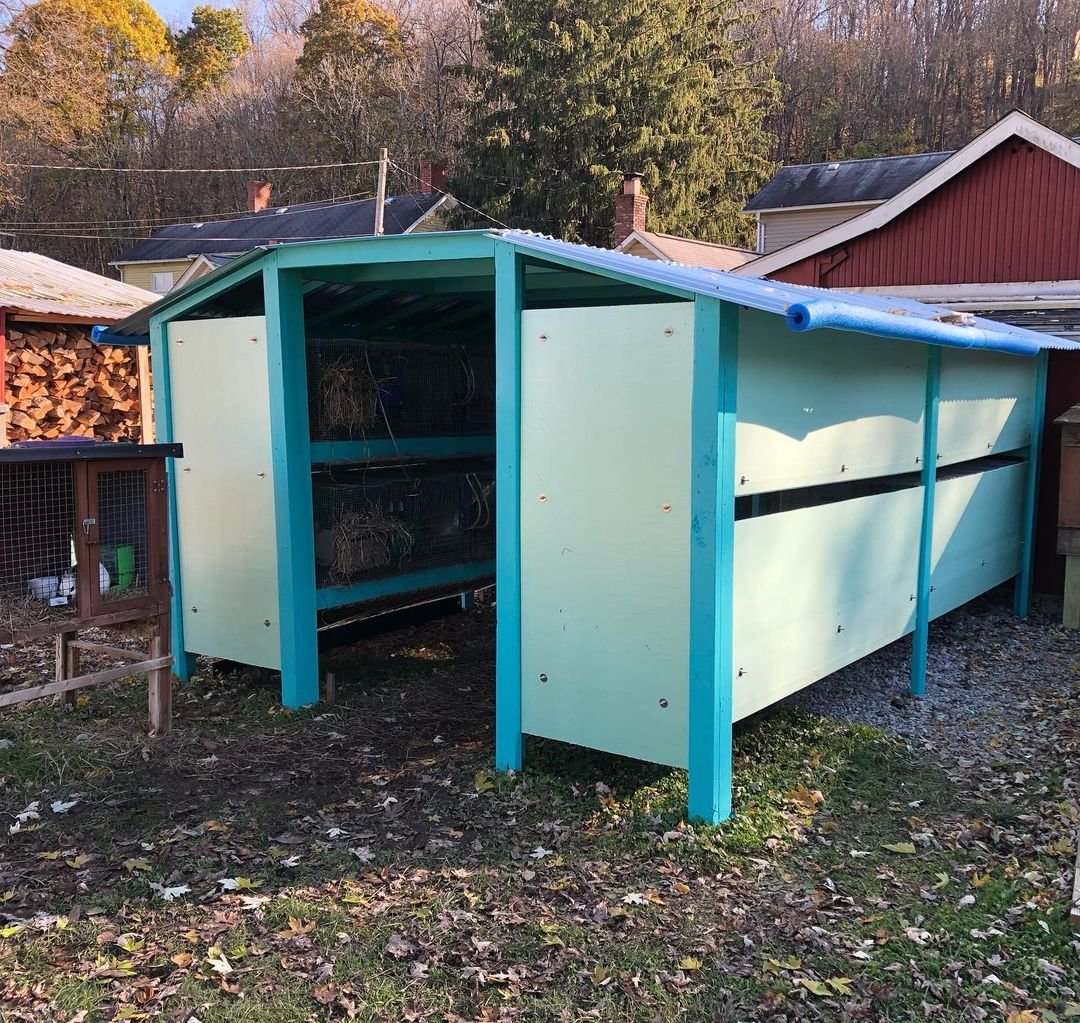
Everyone that knows me knows that I love color, and for us, the teal hutch has become somewhat of an icon. I opted to paint all of my cut up pieces with Valspar “Pine Forest.” I’m also a sucker for a good stain and polyurethane. Whatever you decide, be creative! You can go with the natural wood look but just be aware that it’s MUCH easier to paint these pieces when they are lying flat.
Also, if you’re worried about rabbits ingesting paint or treated wood, don’t be. They are not able to reach any pieces of wood to chew on with this build :)
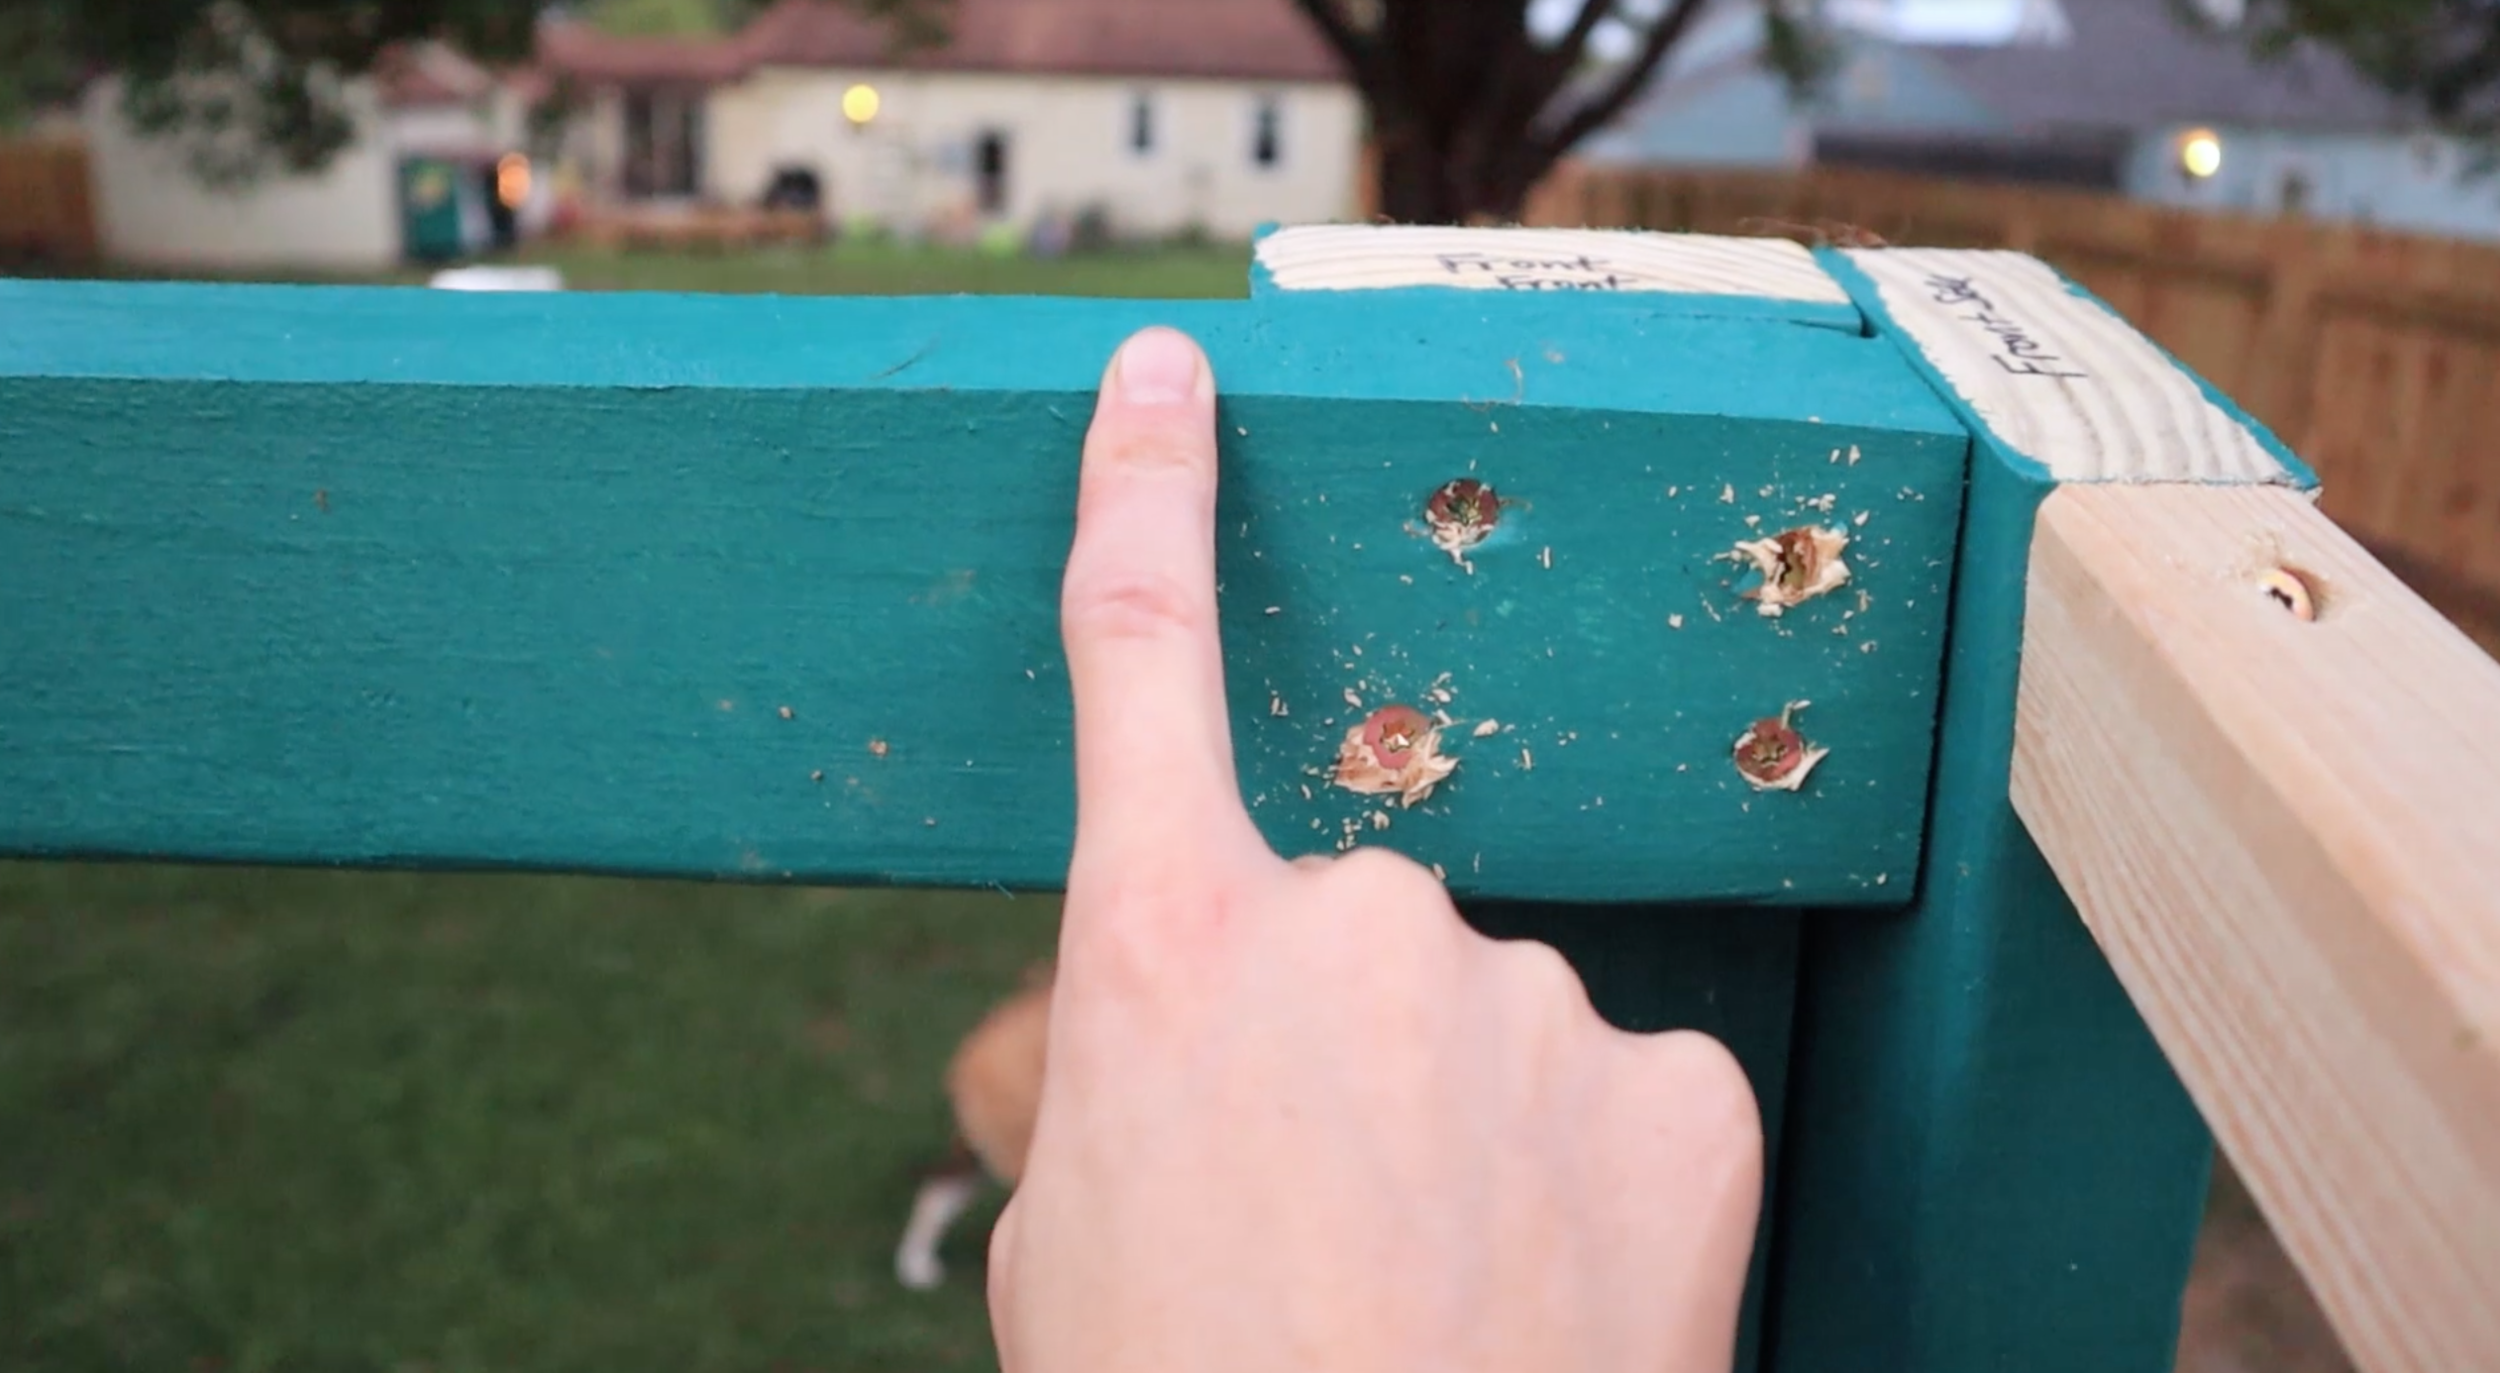
Step 3: Assemble the Legs
I wanted the structure to sit within the legs, not around them. Because of this, I opted to create L-shaped legs out of 2x4’s. Not only do I think these look great, but they also add much more balance and stability than a single 2x4 and are easier to handle than a 4x4.
Since you’ve already cut these pieces at a 15° angle on the top, you can line up the angled sides to create a very flush angle at the top. See my images below for reference. Make sure to lay the front legs and the back legs side by side as you are arranging them so you don’t accidentally cut two right legs or two left legs!
As you line up the back legs, the angle will be sloping backward. The front legs will be sloping forward. Screw the legs together in 5 places - top, middle, bottom, and in between. Don’t worry about the extra leg pieces - those come in at the next step!


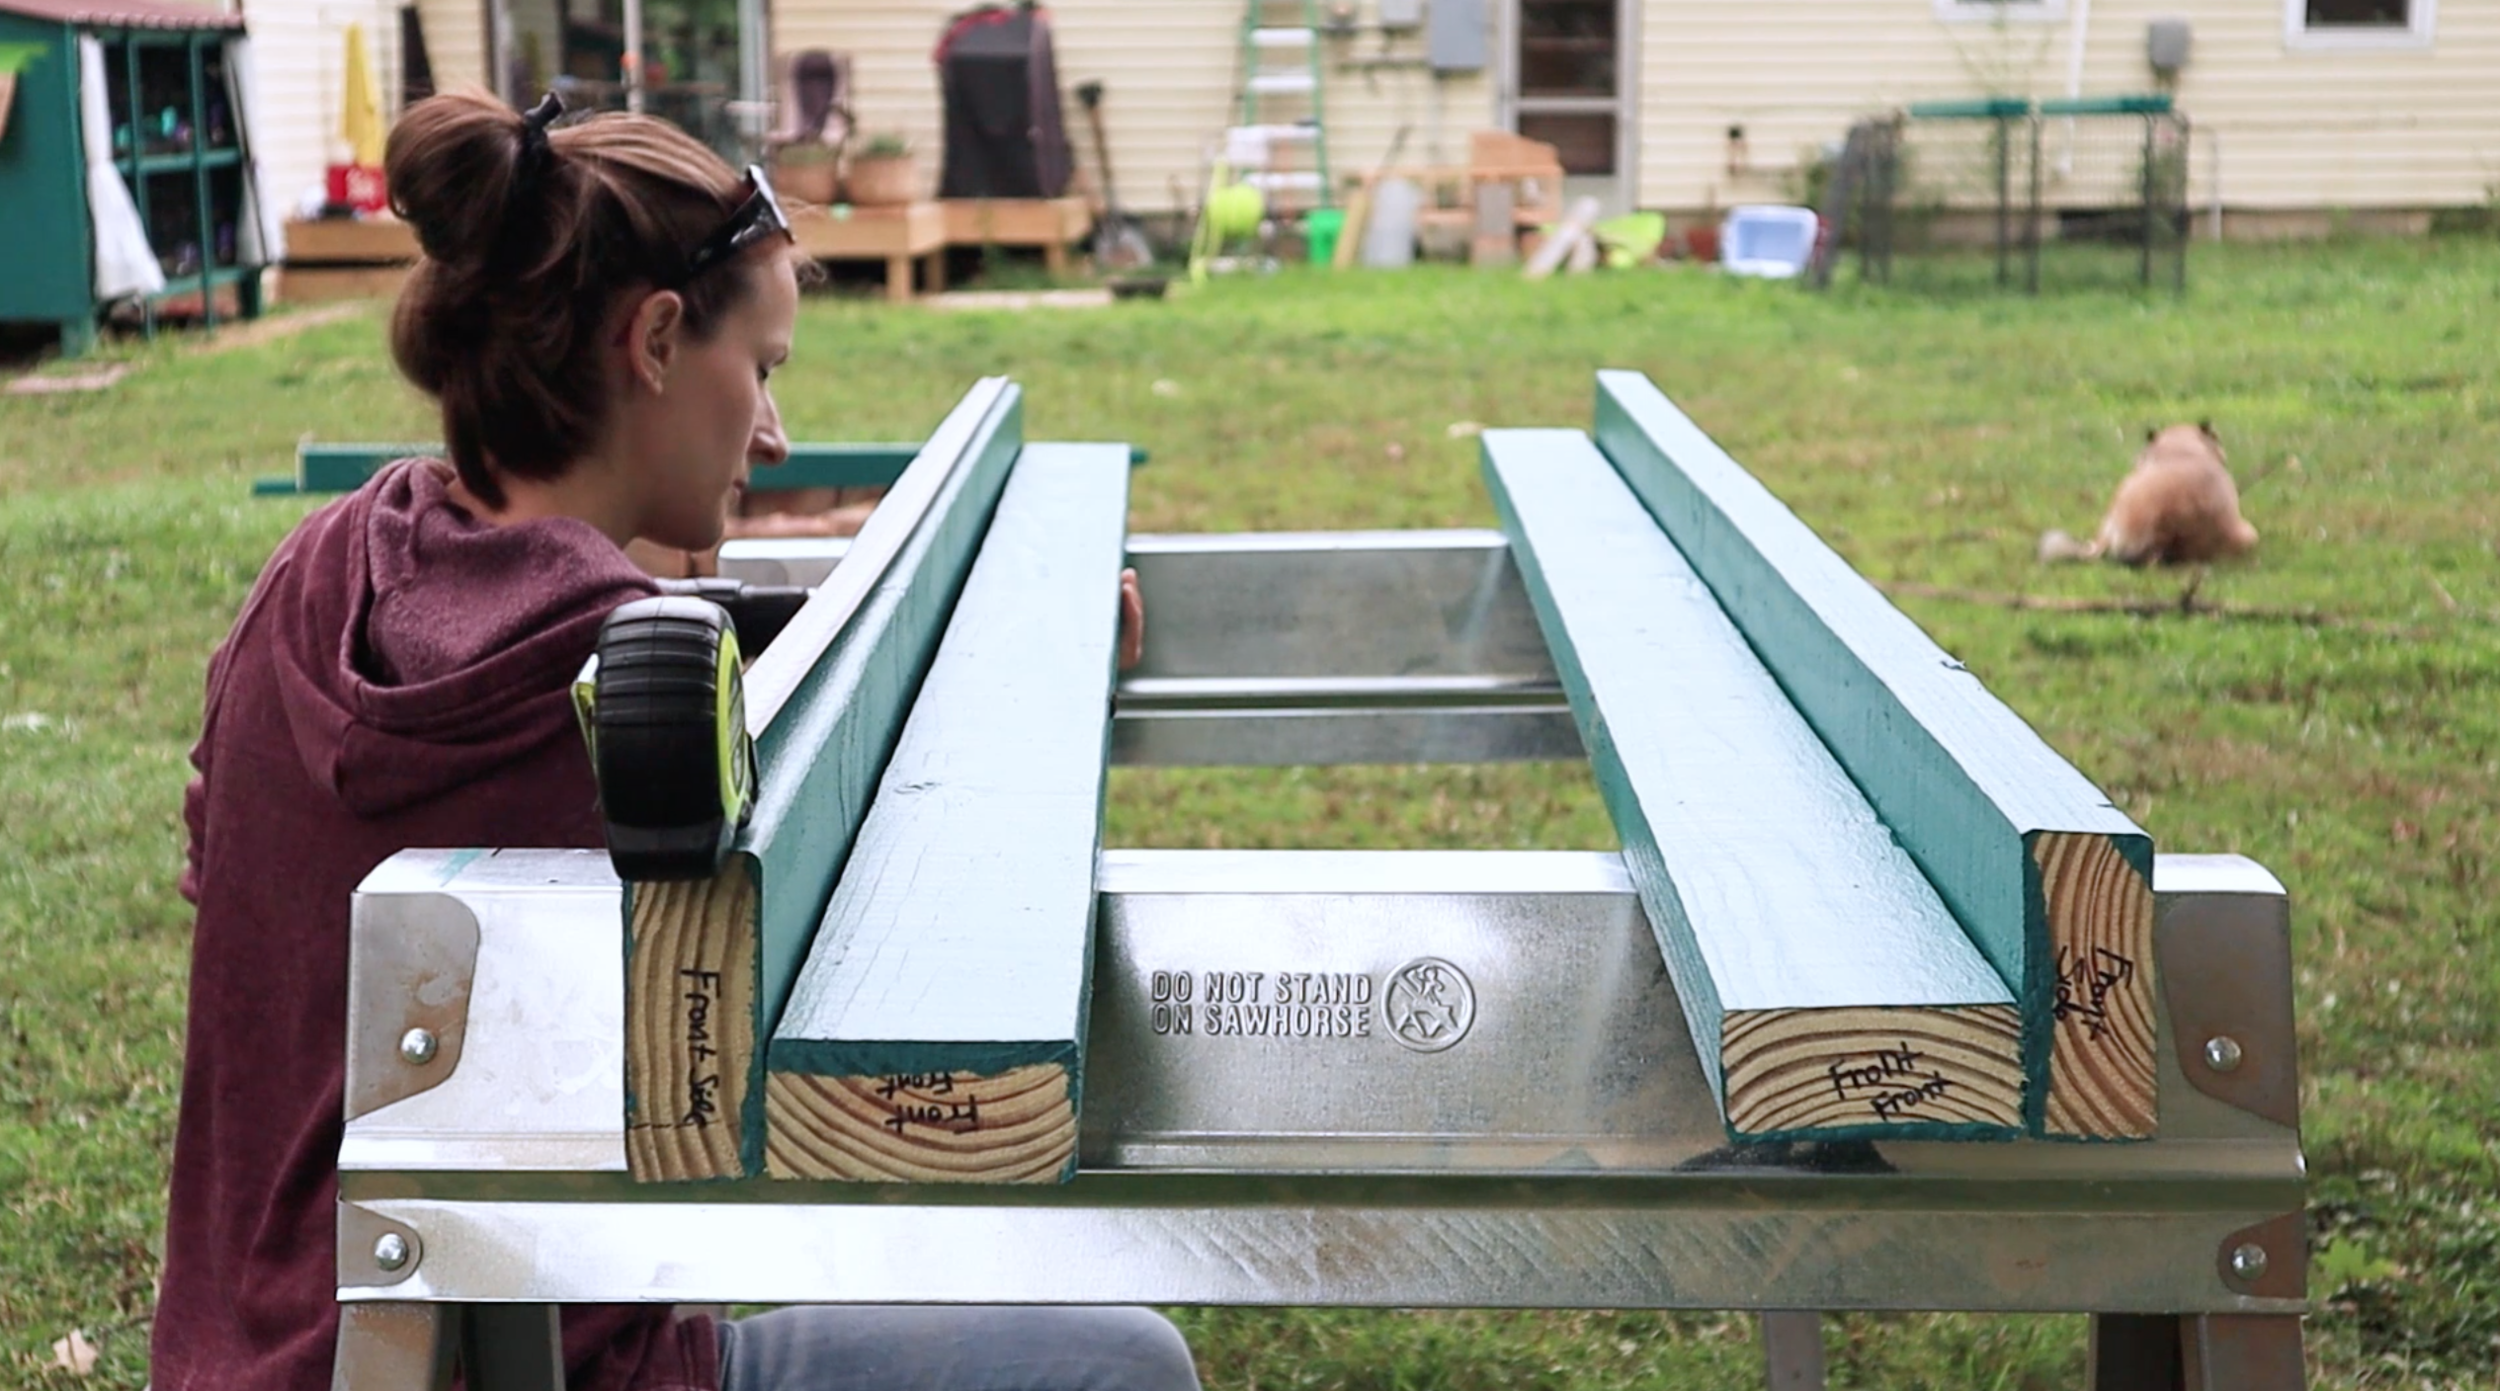
Step 4: Assemble the Front and Back Structure
Lay your legs out on the ground (don’t forget the center legs for the front and the back!). Using your carpenter’s square, measure and mark 18” and 43.5” up from the bottom on each leg. Also mark the center of the middle legs.
Starting on the front, screw in a middle piece (83”) above the 18” mark on the left leg and one of the center legs. Then screw in the middle piece above the 43.5” mark. Then take your middle piece ripped at a 15° angle and attach it to the top, taking care to line the angle up with the top angles on your legs.

Repeat with the second side on the front. It should begin looking something like the following.

When you are finishing assembling the front structure, repeat the same steps for the back structure.


Step 5: Stand It Up and Stabilize
I found that when trying to lift the front and back structures up, they were far too heavy and wanted to bend and crack in the middle. Because of this, I used scrap pieces of wood and screwed them into the middle in a zigzag pattern as temporary supports while we lifted them up. Once the hutch is standing, these are unnecessary. You’ll definitely need at least two people to lift them though! These are very heavy and BIG!
Before you lift it though, go ahead and attach four of the side pieces (32”) along the front frame, below the middle supports. Having these attached makes it much easier and quicker to attach and stabilize the front and back structures together. See the photos below - I only attached two of those pieces to begin with, but attaching four of them all at once might make things easier.


The topmost side piece will need to be measured out and placed in the correct location on the front leg. from my measurements, it needs to be placed approximately 62.5” up… but please measure this on your own, since your ripped 2x4 might be skinnier than mine was! In all other locations, this piece should butt up directly under the middle supports.

Step 6: Middle & Roof Supports
Now it’s time to mark out EVERYTHING! Mark your middle pieces (front and back) at the following locations. Your 29” middle supports and your roofing supports should be screwed into the center of these locations. You can use joist hangers if you prefer, but I actually found that they were unnecessary. If your structure is tight, you might need a hammer to pound these supports into place.
The side roofing supports will be a bit shorter (29”) to fit between the outside portion of the hutch. You should have two of these cut out. The rest of the roofing supports should be 30”. All of them should be cut at an angle on both sides.


Your hutch should begin to look like this!
Step 7: Roofing
I’m no expert on roofing, so I can’t help you out in any sort of professional way here. But what I can tell you is that 4 panels of corrugated metal roofing (2.16ft x 8ft) cut in half is the perfect amount for this hutch! I can also tell you that cutting metal is not my forte, but if you clip a really thin piece of plywood onto the area you need to cut, it helps metal pieces not to fling everywhere and potentially hurt you. ALWAYS wear gloves and eye protection when cutting metal!
Use your roofing screws to attach to the top of the hutch. Take care to square up the sides as much as you can so you have an even amount of overhang in the front and back. My hutch has about 8” of overhang in the front. I used a roofing sealant as I layered the edges on my panels, but this is optional as I’m not sure it was really necessary.


Step 8: Install Your LED’s! (Optional)
My favorite step of all! There’s something about rope LED’s that makes me really happy. It’s such a pleasure to feed my rabbits at night because the hutch glows. Those dark winter days don’t bother my rabbits at all when they have their LED’s. My hutch uses 4 packs of 16ft. soft white rope LED’s. Click the Amazon link below to view or purchase outdoor LED’s like mine!
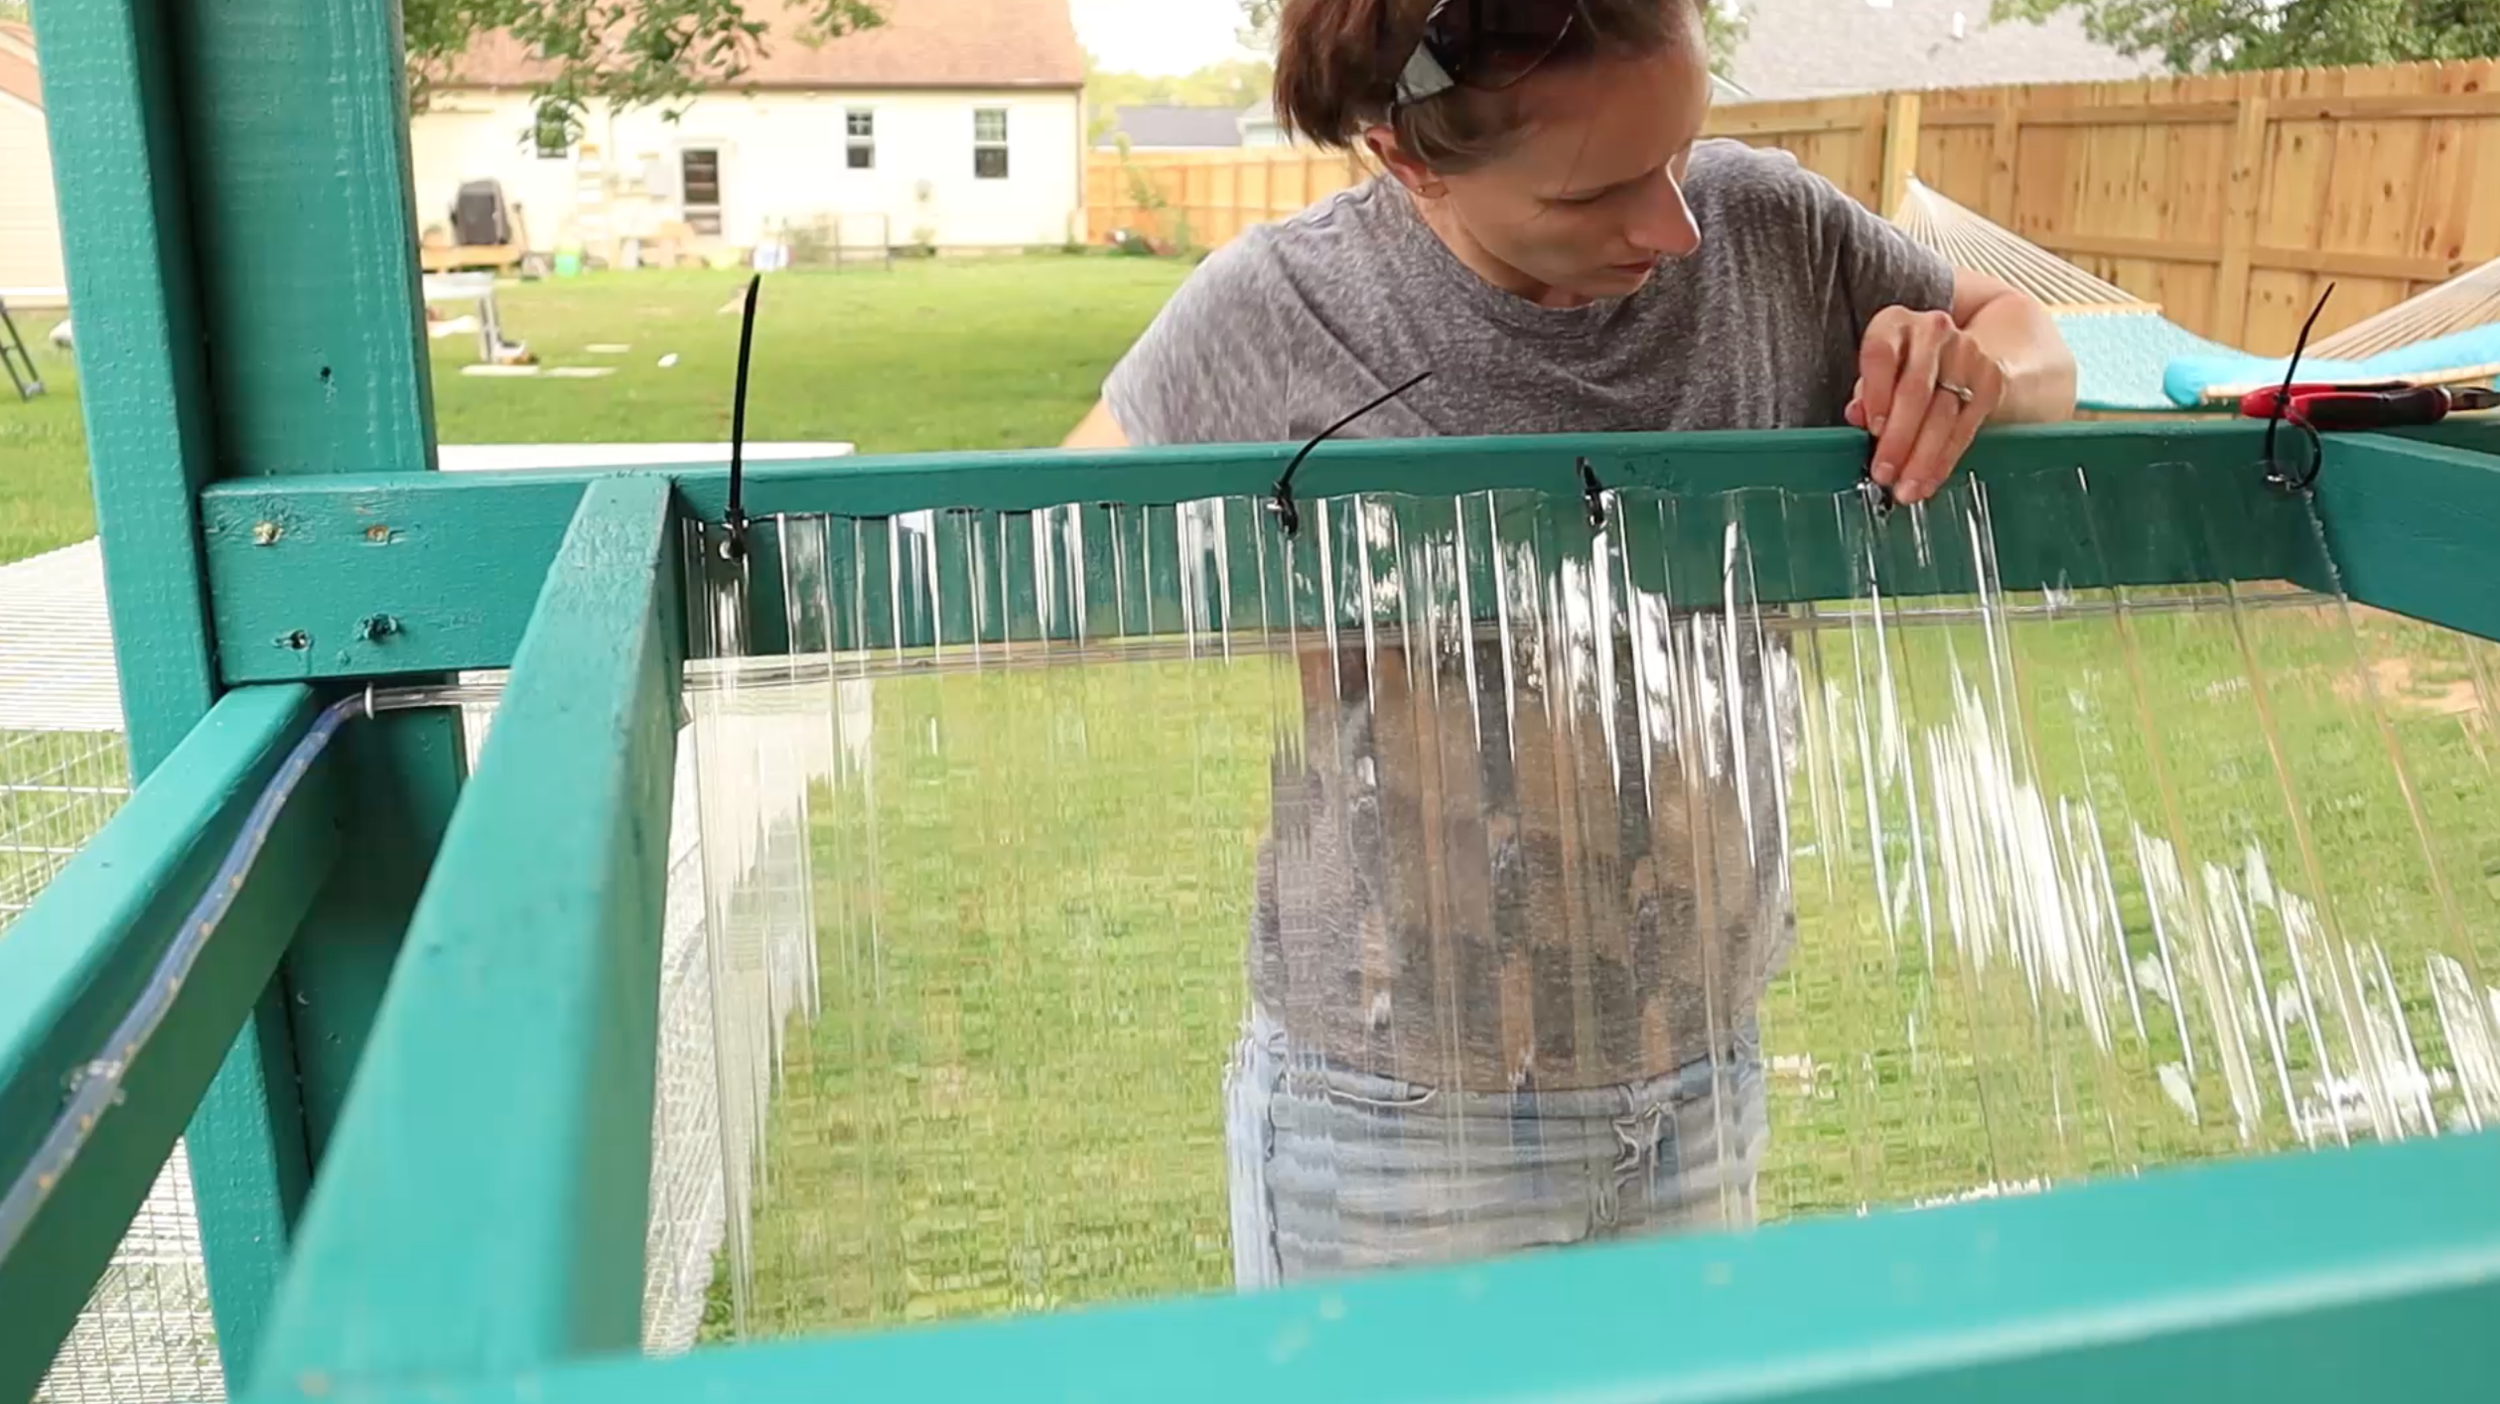
Step 9: Install the Slanted Waste Panels
Cut your two plastic roofing panels into thirds (3 pieces from each). This is another thing that I can’t really give exact measurements on, but it’s pretty self-explanatory and you just kind of have to eyeball it. I screw in eyelets about halfway down the inside of the middle 2x4, drill small holes in the clear panels, and hang them semi-loosely on the eyelets using zip-ties. This creates a simple hinge effect, and as you slide your bottom cages in, the panels should sit at an angle.

Step 10: FINAL! Insert Your Cages and Strap Them Down
Obviously you will have to assemble your cages if you haven’t already done so. This is a chore!! For me it took about 45 minutes to assemble each cage. I used KW cages double-modular design. CLICK HERE to see the exact cages I used. I upgraded my flooring to HD 14 Gauge. Here’s a quick tip: Use zip-ties to hold pieces tightly in place as you clamp j-clips on.
Slide your cages into the structure onto the supports inside the hutch. Use zip-ties to strap them into place so they don’t move… and you are DONE! Check out some of these products in each cage!
To weatherize this hutch, you can staple clear plastic sheeting on the back and sides. I will be adding a curtain or sheeting to the front eventually as well - keep watch for that update in the future!


Gallery
Check out these AWESOME hutches built using the Teal Stone plans!


I live in north-central Indiana in the country with my husband, our two dogs, and a lot of animals :) I love to craft and DIY and I’m obsessed with learning new things. I am driven by coffee and my love for animals. Learn more…